17 Pinterest-Worthy Curly Hair Ideas Trending Right Now
If your curls have been stuck in the same old routine, these curly hair ideas will give you plenty of fresh inspiration. Pinterest is full of gorgeous curly looks right now, from soft everyday styles to bold cuts that turn heads. I spent hours scrolling through what real women are actually wearing, saving the styles that kept popping up again and again, and this list is the result.
Whether your curls are loose waves, tight coils, or something in between, there is something here for every texture and length. Some of these styles take five minutes on a busy morning. Others are worth the extra effort for weddings, parties, or days when you just want to feel amazing. The best part is that most of them work with the hair you already have, no drastic cut required unless you want one.
Go through the list slowly, save the ones that catch your eye, and pay attention to the styling tips under each idea. Small details like how you part your hair or where you place a pin can completely change the final look. By the end, you will have a whole board of new favorites to try.
Voluminous Curly Layers
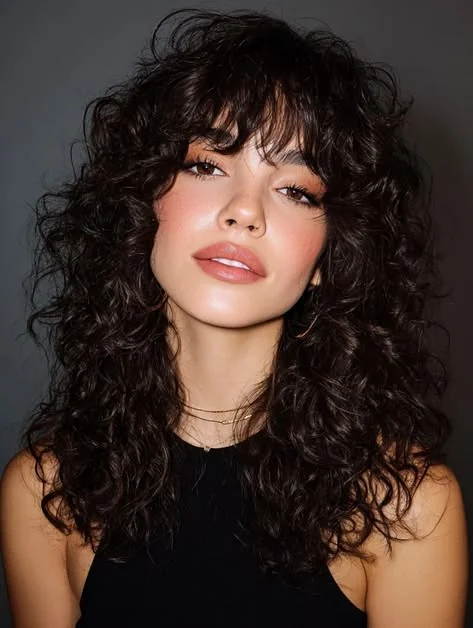
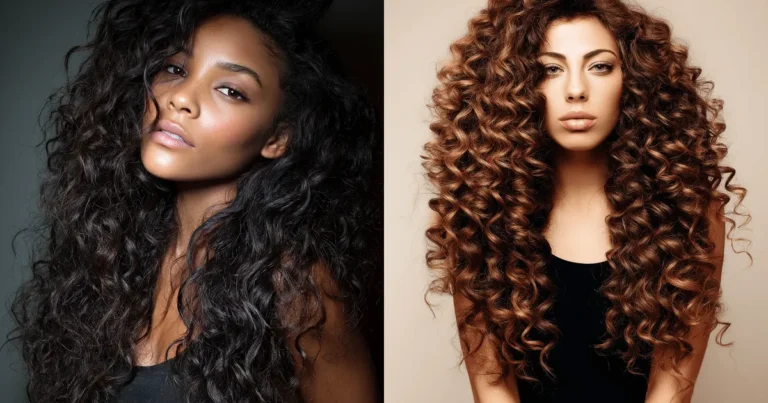
Nothing beats the shape of long layers on thick curls. The cut removes weight from the middle lengths, so the top of your hair lifts instead of collapsing under its own heaviness. What you get is a halo of volume that looks full from every angle, with curls that stack on top of each other rather than hanging in one heavy curtain.
The trick to styling is all in the root. I tried this on wash day and the roots lifted for days. Diffuse your hair with your head flipped forward, shaking the roots with your fingers before they set. A pea sized amount of mousse on damp roots gives hold without that crunchy feeling, and a light oil scrunched into the ends keeps everything soft.
Ask your stylist for long layers starting at the cheekbone, cut on dry curls so the length lands exactly where it should. This look works best on medium to thick density hair, and the grow out is forgiving because every layer blends into the next. Pin it if you love big, rounded shape.
Defined Ringlet Curls
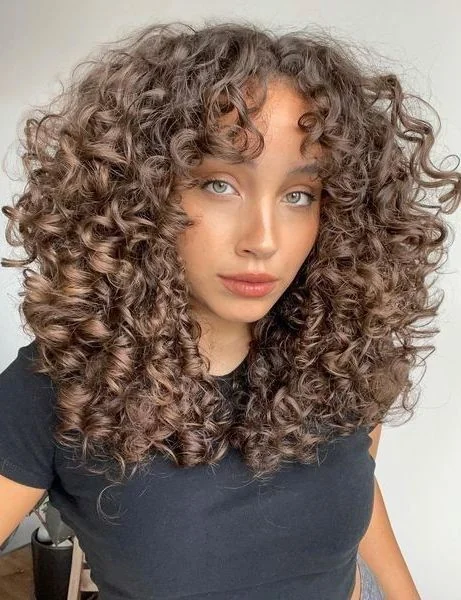
- Start on very wet hair: definition forms while the curl is still soaking, so rake your styling cream through in sections before any water dries.
- Use a brush or your fingers to clump small groups of curls together, twirling each section around one finger to encourage a clean spiral.
- Choose a lightweight gel with medium hold and glaze it over each clump with open palms instead of scrunching too early.
- Diffuse on low heat with the cup of the dryer resting under each section, and do not touch the curls until they are fully cool.
- Break the cast once everything is dry by scrunching with a drop of oil, which softens the ringlets without pulling them apart.
This style rewards patience, but the payoff is curls that keep their shape through wind, humidity, and busy days. Sleep in a loose pineapple bun on a satin pillowcase, and your ringlets will still look freshly styled on day two or three.
Curly Shag Cut
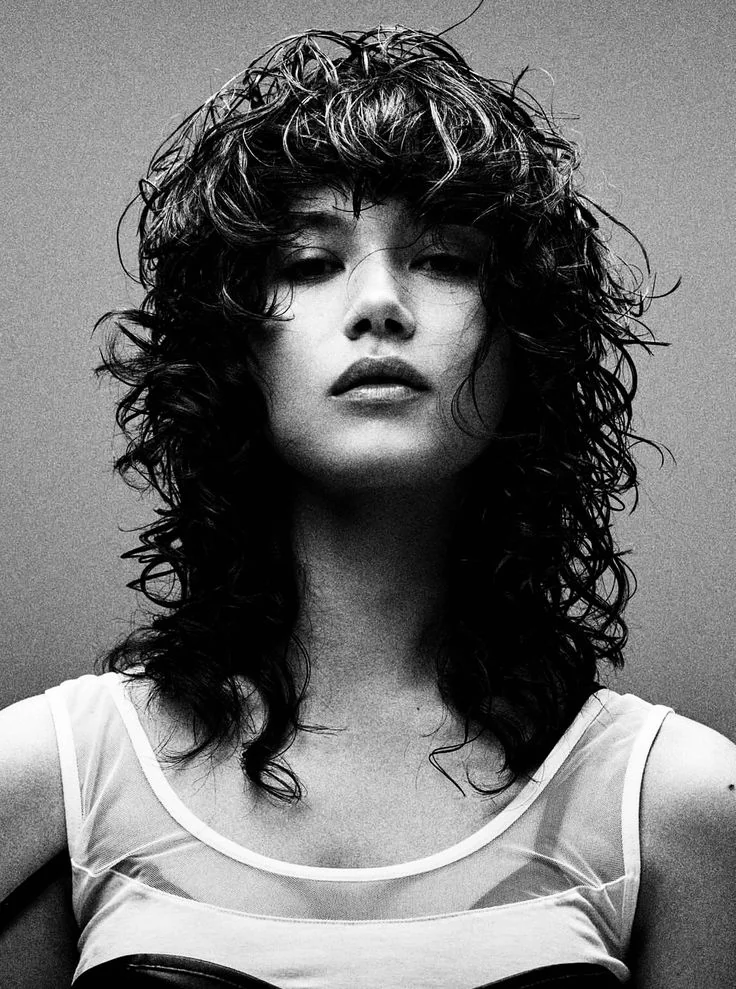
Quick Tip: Tell your stylist you want short layers at the crown that taper into longer ends, plus a soft curtain fringe. Diffuse the bottom half only, and let the top air dry for a shag that looks undone in the best way.
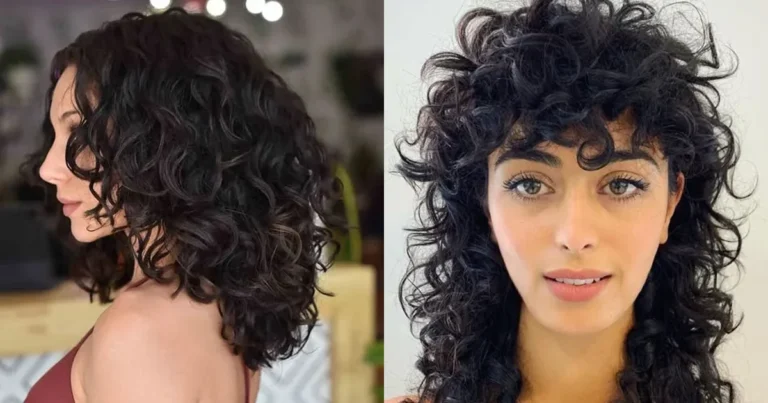
The shag was built for curls. Its layered structure gives each curl room to spring up and do its own thing, which means less triangle shape and more of that rock and roll silhouette. It is especially flattering on fine to medium hair because the short top layers create fullness where thin curls usually fall flat.
Maintenance is refreshingly simple. A spray bottle with water and a little leave in conditioner revives second day curls in under five minutes. Get a light dusting of the ends every eight to ten weeks to keep the shaggy layers sharp, and never let anyone thin the interior with shears because that creates frizz you cannot take back.
Bouncy Curly Bob
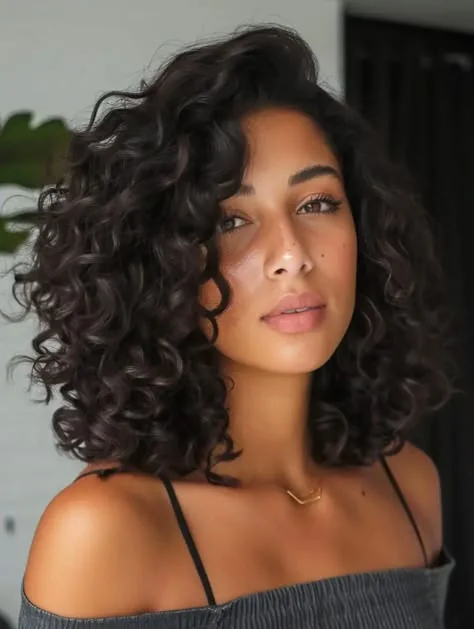
Before: Shoulder length hair pulled flat by its own weight, with curls that only waved at the ends and a shape that read boxy no matter how you styled it.
After: A chin to jaw length bob with rounded layers, curls that spring into full ringlets, and a shape that bounces when you move. I had mine cut last summer and the volume at the crown showed up immediately.
This length is a sweet spot for curls. The shorter the hair, the more spring each curl has, so a bob naturally delivers the bounce long cuts struggle to create. Keep the back slightly tapered so the silhouette stays round, and ask for layers that follow the head shape instead of sitting on top of it.
Style it by scrunching cream and gel into soaking wet hair, then diffusing with the dryer held below the curls so the heat lifts from underneath. A side part or deep zigzag part keeps the bob from looking too severe, and pinching a few face framing curls forward softens the whole look. This cut photographs beautifully because the round shape catches light from every angle.
Long Spiral Curls
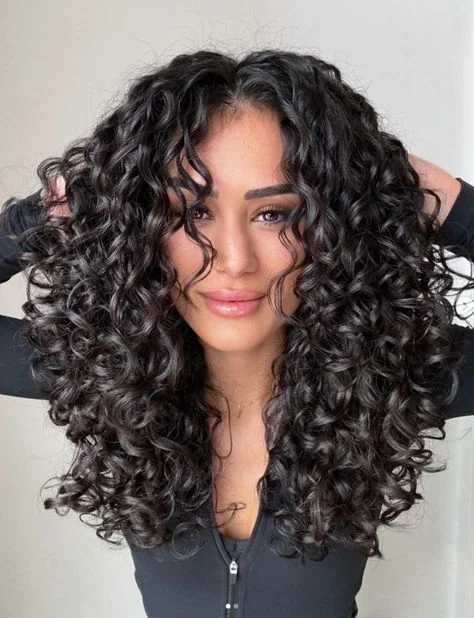
- After washing, divide damp hair into four sections and clip each one up. Working section by section keeps the styling even from roots to ends.
- Smooth a curl defining cream through one section, then rake a medium hold gel over the top with your fingers, using enough product to coat every strand.
- Take small subsections, about one inch wide, and twist each one around your finger from root to tip. Let the twist fall into its natural spiral shape.
- Diffuse each section on low speed and medium heat, cupping the curls in the diffuser bowl. Avoid touching them until they are completely dry and cool.
- Once dry, separate the spirals gently with oiled fingertips, shaking the roots to break everything up into soft, full curls.
Long spiral curls look most striking when the ends are healthy, so trim a quarter inch every ten to twelve weeks even if you are growing your hair out. A silk pillowcase keeps the spirals intact overnight, and a morning mist of water with a dab of cream brings second day hair back to life in minutes.
Curly Bangs Look
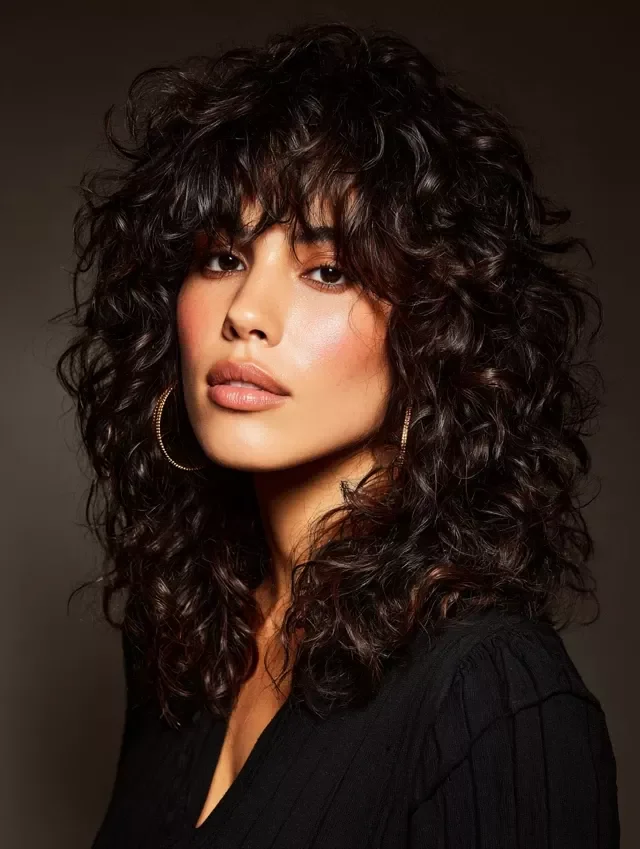
A fringe on ringlets is one of the boldest styling moves you can make, and it works when the cut respects your curl pattern. Curls shrink as they dry, so bangs should be cut longer than the length you picture. Shaped well, they frame the face and make the whole cut look deliberate.
DO:
- Cut bangs dry, curl by curl, so the natural shrinkage is visible and you never lose more length than planned.
- Ask for soft, textured ends rather than a blunt line, because wispy edges blend into the rest of the hair.
- Style with a dab of curl cream, finger coil each piece, then air dry so the ringlets settle into place.
DON’T:
- Never cut bangs wet, since curls spring up and the result lands inches shorter than you expected.
- Avoid heavy pomades on the fringe; they drag curls flat and turn the forehead shiny by midday.
- Do not straighten only the bangs, or you will get a visible texture clash with the rest of your curls.
Treated with patience, curly bangs grow out gracefully, melting into face-framing layers instead of an awkward stage. Pin reference photos of your own curl type before your appointment so the stylist sees your hair at its driest.
Pineapple Updo
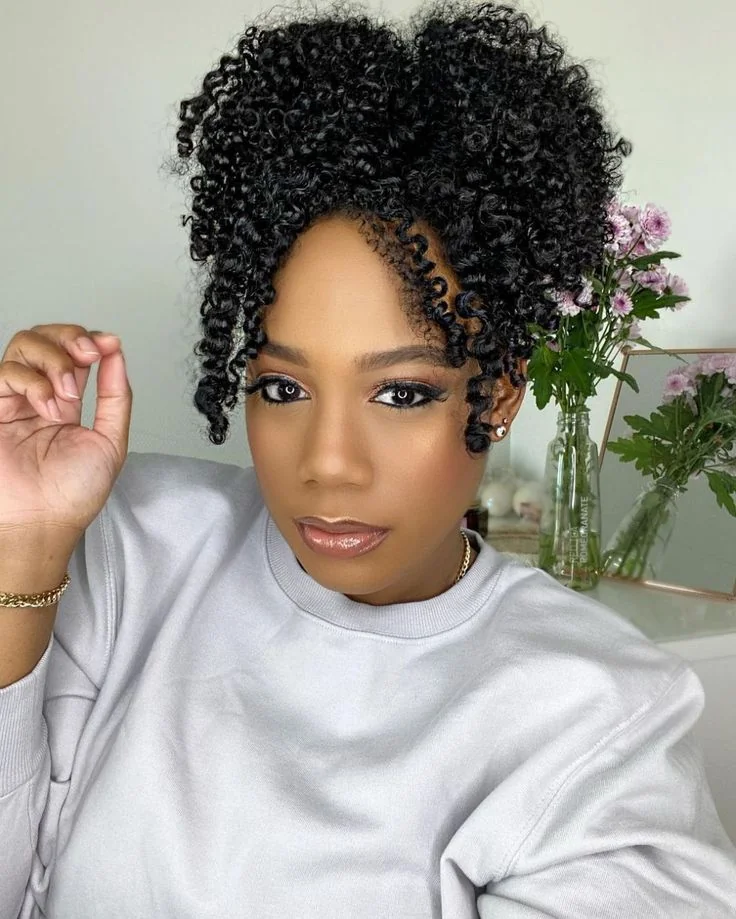
The pineapple updo started as a sleep trick and earned its spot as a daytime style all on its own.
Time: 5 minutes
Cost: free, just a loose scrunchie
Skill level: beginner
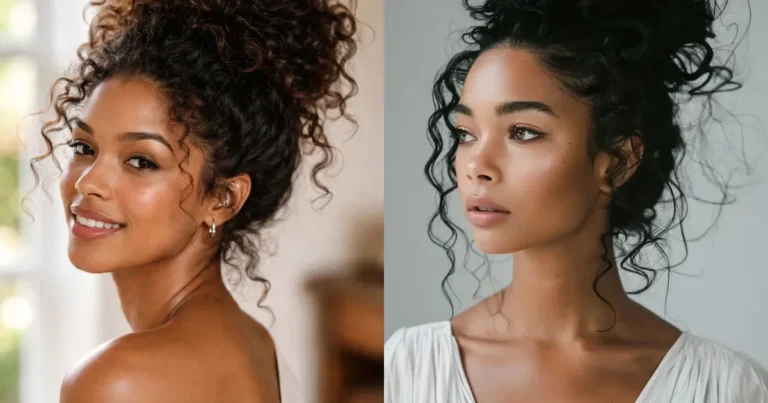
Gather all your curls into a very high, loose ponytail at the very top of your head, like the leaves of a pineapple, and secure it with a loose satin scrunchie or spiral tie. The key is looseness: the hair should perch up top, not pull tight, so the curl pattern stays round and the ends stay off your neck. Let the ponytail flop forward and fan out for that signature crown of volume.
This style works from day-old curls to freshly washed ones, and it is a rescue move when your curls have flattened overnight, since lifting everything skyward restores the volume. Wear it to the gym, the grocery run, or a casual dinner; add gold hoops and a bold lip and it reads polished, not lazy. For extra hold on thick hair, use two scrunchies stacked or a claw clip at the base. Take it down at night and your curls bounce back with their shape intact.
Curly High Ponytail
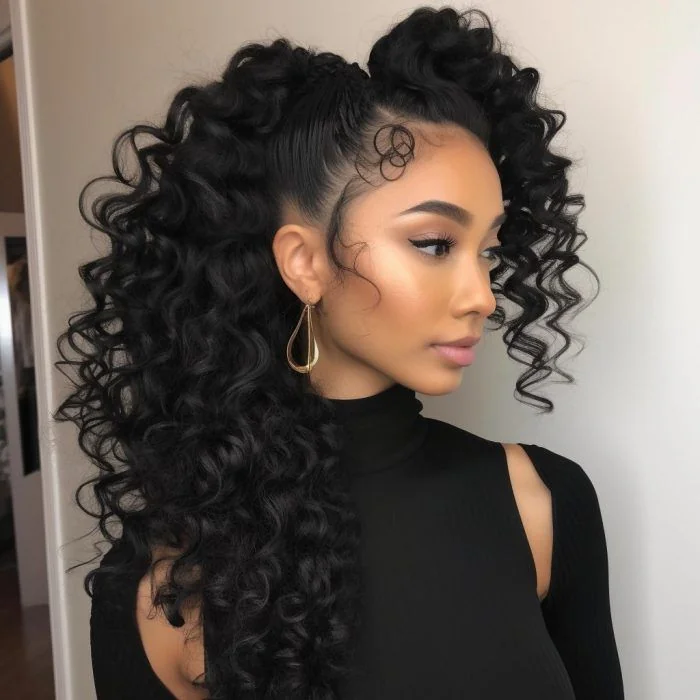
I wore this to a wedding in July and the ponytail survived the heat, the hugs, and a full dance floor.
The secret is placement and tension. Flip your head upside down, gather everything toward the crown, and smooth the sides with a boar bristle brush and a little gel so the base looks sleek while the ends stay wild. Secure it high, at the very top of the head, because anything lower reads sporty instead of glamorous.
Wrap a small section of hair around the elastic to hide it, pin it underneath, and let the ponytail fall forward so the curls frame your face. If your curls are fine, gently separate a few ringlets at the ends to create the illusion of a thicker, longer tail. A light mist of flexible hold spray keeps flyaways down without crunch.
This is the style I reach for when I want to look put together but have ten minutes flat. It works with second-day curls, pairs with hoop earrings and a red lip for evenings, and flatters every face shape. Honestly, it photographs better than almost any other updo I have tried.
Half-Up Twist
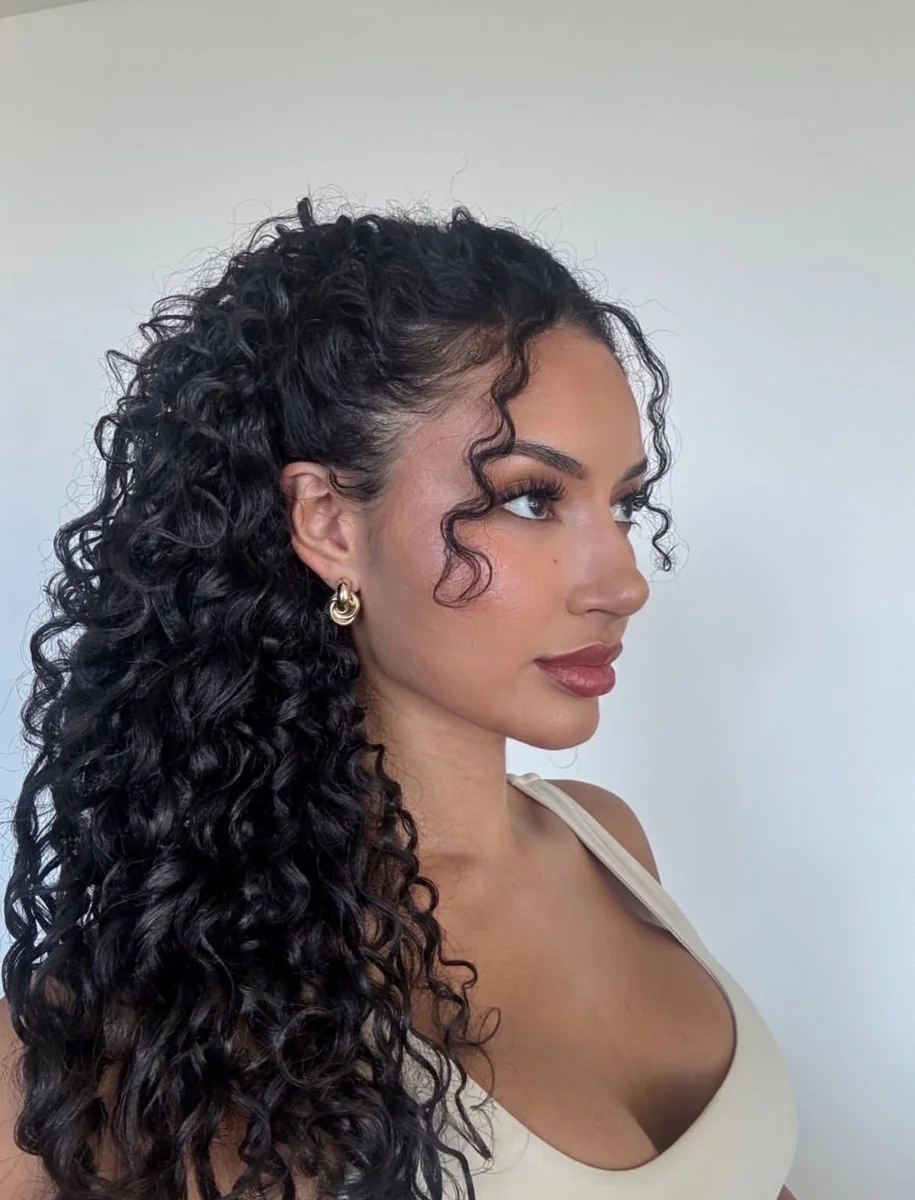
When you want curls off your face but still flowing, the half-up twist is the sweet spot between loose hair and an updo.
- Part your hair from ear to ear, taking the top third, and clip the bottom section out of the way so you can work cleanly.
- Split the top section into two pieces, twist each one back toward the crown, and overlap them into a single rope for extra texture.
- Secure the twist at the back of your head with small bobby pins placed in an X shape, then tug the twist gently for fullness.
- Leave two face-framing curls loose at the front and define them with a little curl cream so they sit in soft ringlets.
- Finish by shaking out the bottom half and fluffing the roots with your fingers for balanced volume top and bottom.
The result looks intricate from the front but takes about ten minutes once you have the motion down. It is my favorite compromise for windy days, since the top stays controlled while the length still moves. Dress it up with a jeweled clip or keep it plain for school runs and coffee dates.
Messy Curly Bun
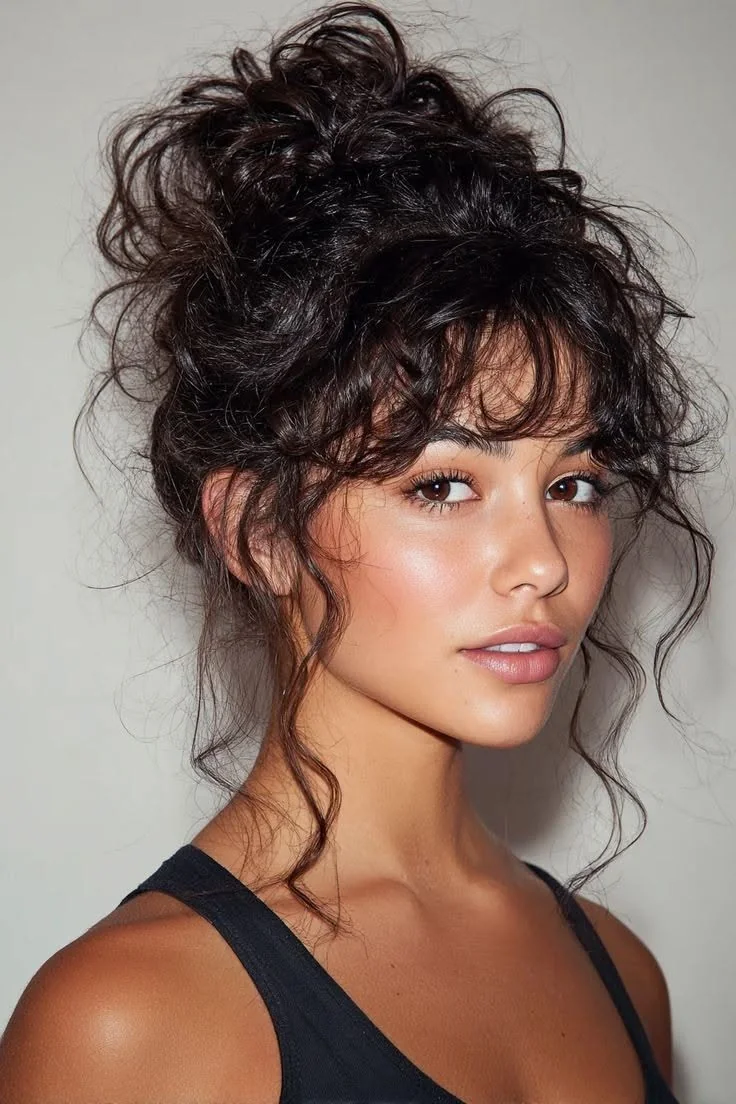
Quick Tip: Flip your head upside down and gather your curls into a high ponytail without smoothing them. Twist the length loosely, wrap it around the base, and pin in place. Let the ends stick out and leave a few face-framing curls loose for that undone finish.
I tried this before a night out and it survived dancing, humidity, and a long cab ride home. The secret is doing it on day two or three curls, when the texture has enough grip to hold a shape without a whole bottle of product. If your curls are freshly washed and too slippery, a light spritz of sea salt spray gives them the traction they need.
To keep the bun from looking like a plain knot, gently pull at the outer loops with your fingertips after pinning to create airy volume. Place the bun slightly off center for a softer, editorial feel, and let one or two curls escape at the nape. A couple of bobby pins crisscrossed at the base hold everything without crushing the bounce. This style works on medium to long lengths and pairs well with hoop earrings and a bold lip, since the height draws the eye upward.
Side-Swept Curls
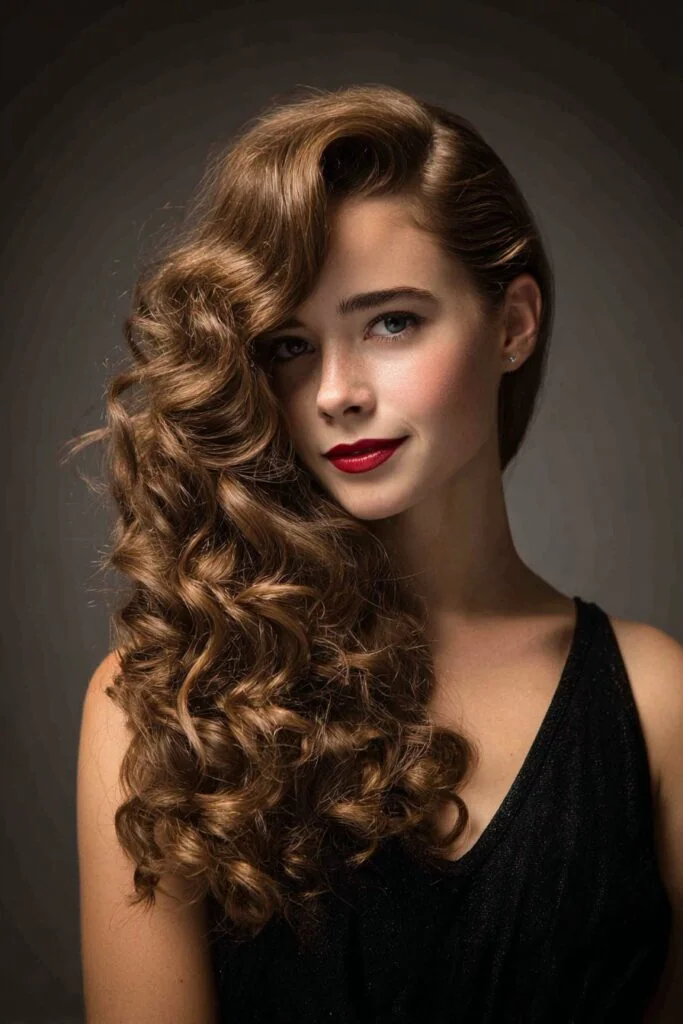
Before: Your curls are falling flat at the roots and framing both sides of your face evenly, which can make them look smaller than they are. The part is sitting in its default spot, and everything blends into one soft, shapeless mass by the end of the day.
After: A deep side part redirects all that volume to one side, instantly creating dramatic sweep and a taller silhouette. The heavy side gets the spotlight with defined, glossy curls, while the tucked side keeps everything balanced and secure with a few hidden pins.
Start with damp, conditioned curls and part them deeply on your preferred side. Apply a curl cream from mid-length to ends, then diffuse the roots on low heat while lifting with your fingers to lock in the lift. Sweep the majority of hair across your forehead and pin the flat side behind your ear for a polished red carpet feel. This look photographs beautifully from the front and works for weddings, dates, and parties alike.
Curly Space Buns
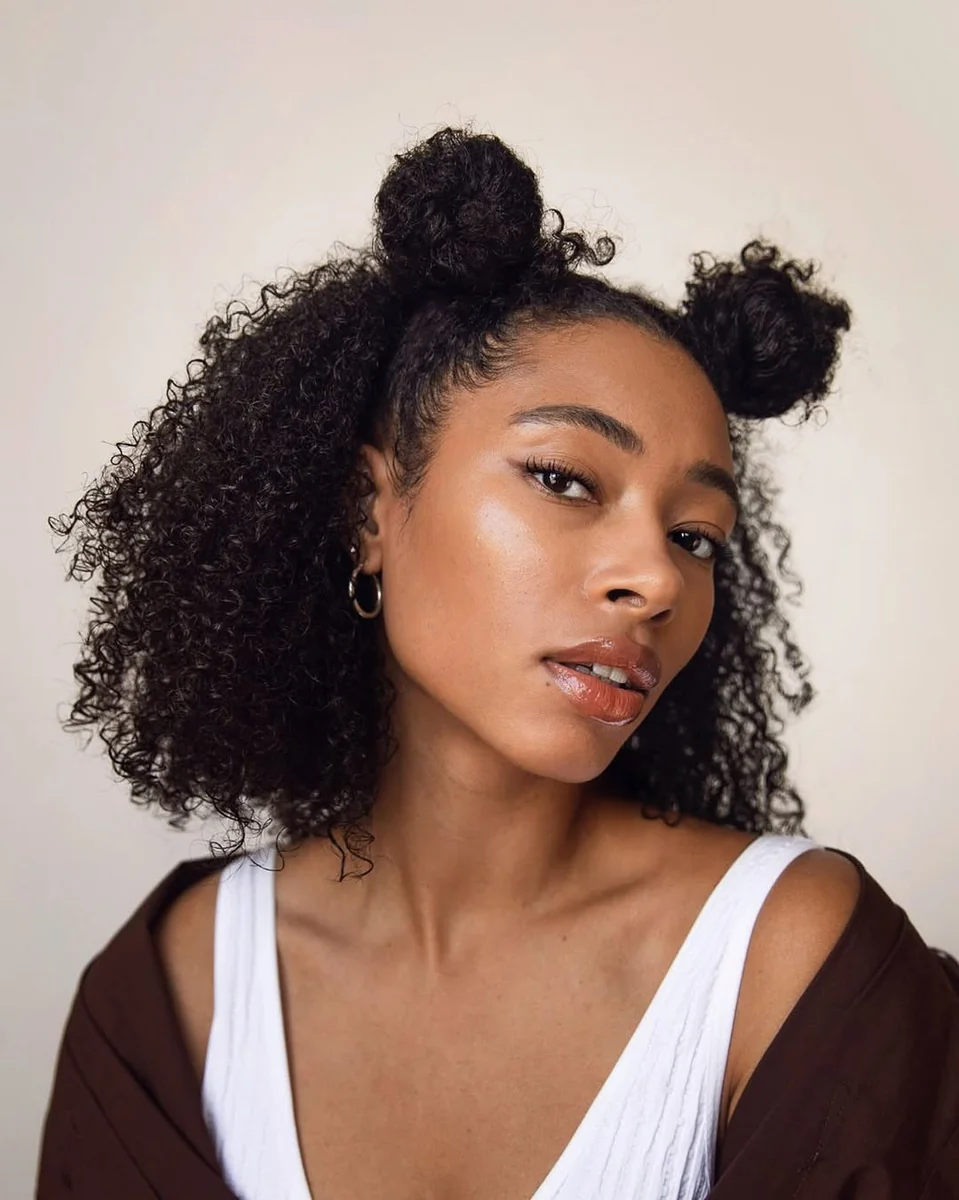
- Part your hair down the middle from forehead to nape, creating two even sections.
- Smooth each section into a high pigtail near the crown, leaving the length out. A center part gives the classic symmetrical look.
- Twist one pigtail loosely and coil it around its base to form a bun, tucking the ends in and securing with pins or a scrunchie.
- Repeat on the other side, matching the size and height of the first bun for balance.
- Gently tug at both buns and the hair around your face to loosen everything up, then mist with a flexible hold spray.
Curly space buns work best on day-old texture, since fresh curls can slip out of the coils. If you want extra personality, leave the back half of your hair down while only the top sections go into buns, which softens the playful shape into something you can wear to brunch. Small accessories like gold cuffs or colorful clips take them from cute to statement in seconds.
Wet-Look Curls
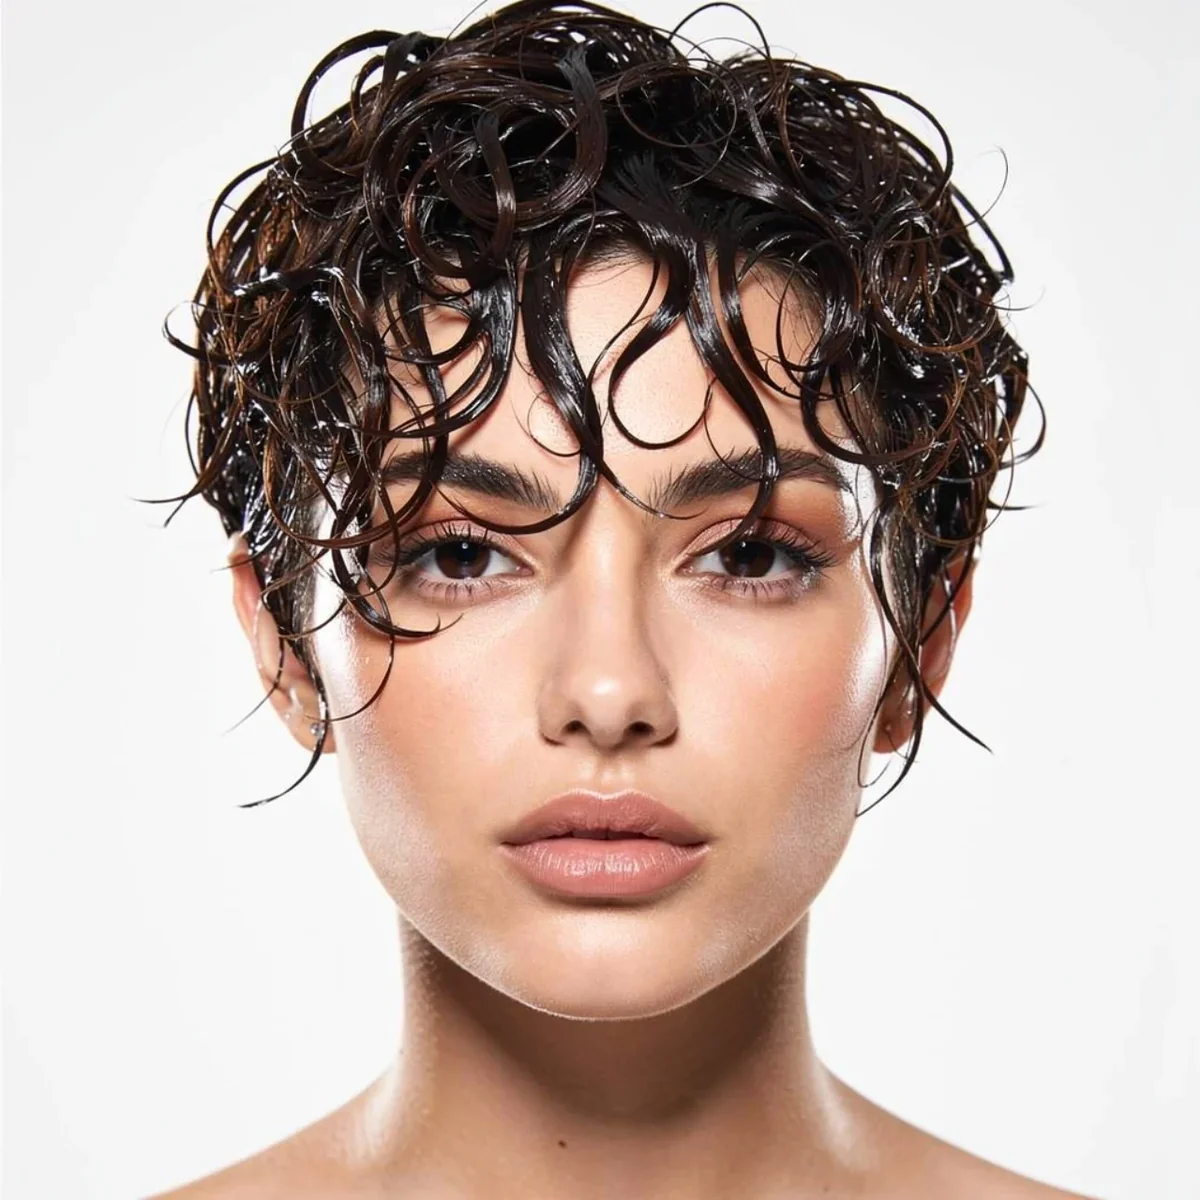
DO:
- Apply a strong hold gel to soaking wet curls in sections, smoothing it through each clump so every strand is coated evenly.
- Use a wide tooth comb or your fingers to arrange the hair exactly how you want it to dry, since this style sets in place and will not move once dry.
- Finish with a light layer of hair oil or serum over the gel cast to keep the glossy finish without stickiness.
- Scrunch very gently once the gel cast forms if you want a little softness at the ends while keeping the roots sleek.
DON’T:
- Do not rake through your curls after the gel starts to set, because you will break the cast and create frizz that ruins the sleek effect.
- Do not use heavy creams or butters underneath the gel, since they weigh curls down and mute the high shine this look depends on.
- Do not touch or fluff the hair while it air dries, even if it looks stiff at first. The crunch settles into a smooth, glassy finish on its own.
- Do not skip a final check in bright light before heading out. Wet look styles show every missed section, so add a dab of gel wherever curls look dull.
Curly Pixie Cut
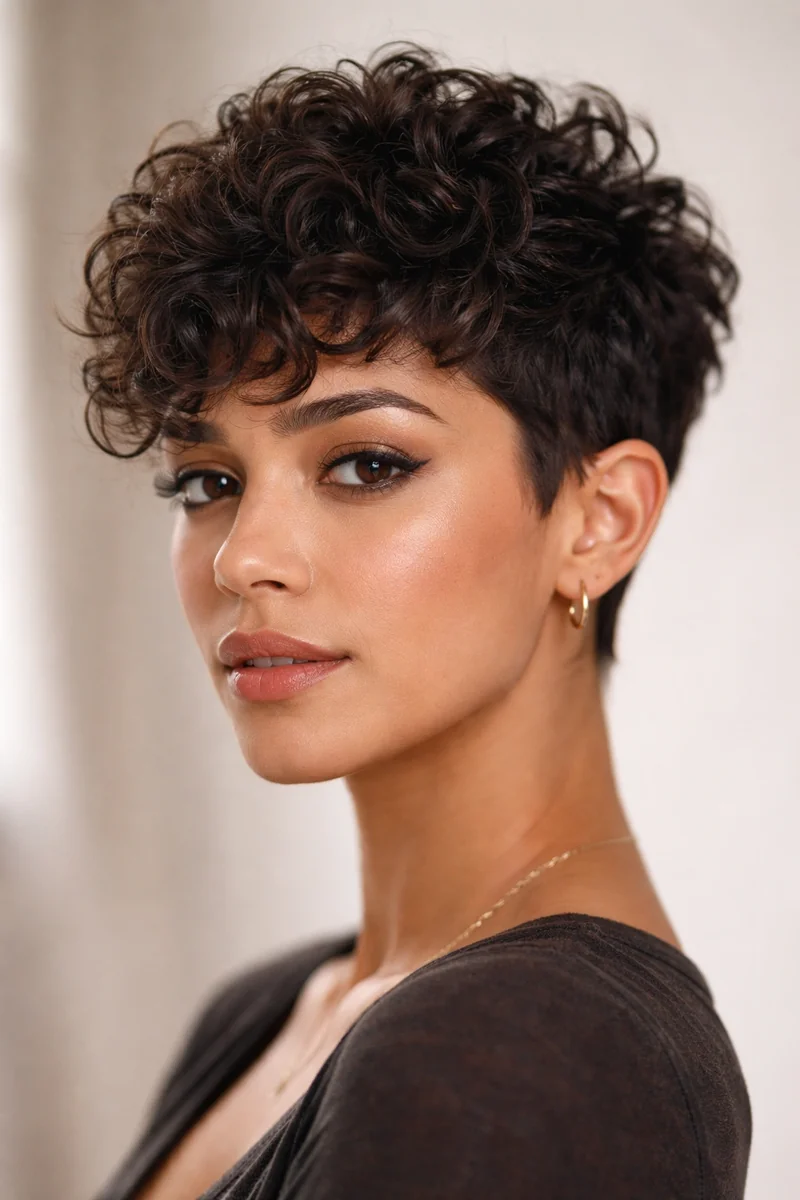
Time: 30 to 45 minutes for the cut, 5 minutes daily to style
Cost: $40 to $90 depending on the salon
Skill level: easy for upkeep, but get the first cut from a curl specialist
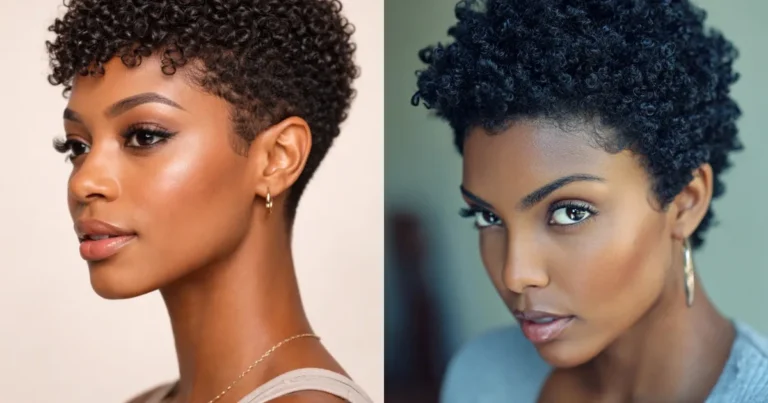
Short on the sides and full on top, the curly pixie keeps volume exactly where it counts. Curls spring upward on their own, so this cut practically styles itself once you work in a little curl cream or lightweight gel. Defined ringlets sit close to the head without the bulk of a longer style, and the tapered shape frames the face in a way that feels bold yet polished. I have worn this style to a beach trip, and it still looked fresh after a full day of sun and sea air.
The best part is wash day. Less hair means less detangling, less product, and much less drying time, which makes this a smart pick for a busy routine. Ask your stylist for tapered sides with extra length left on top, so the curls keep their shape as they grow out. Diffuse on low heat or let it air dry completely, then gently pick at the roots for lift. Between washes, a light refresh with water and leave in conditioner brings the curls back in under five minutes.
Braided Curly Crown
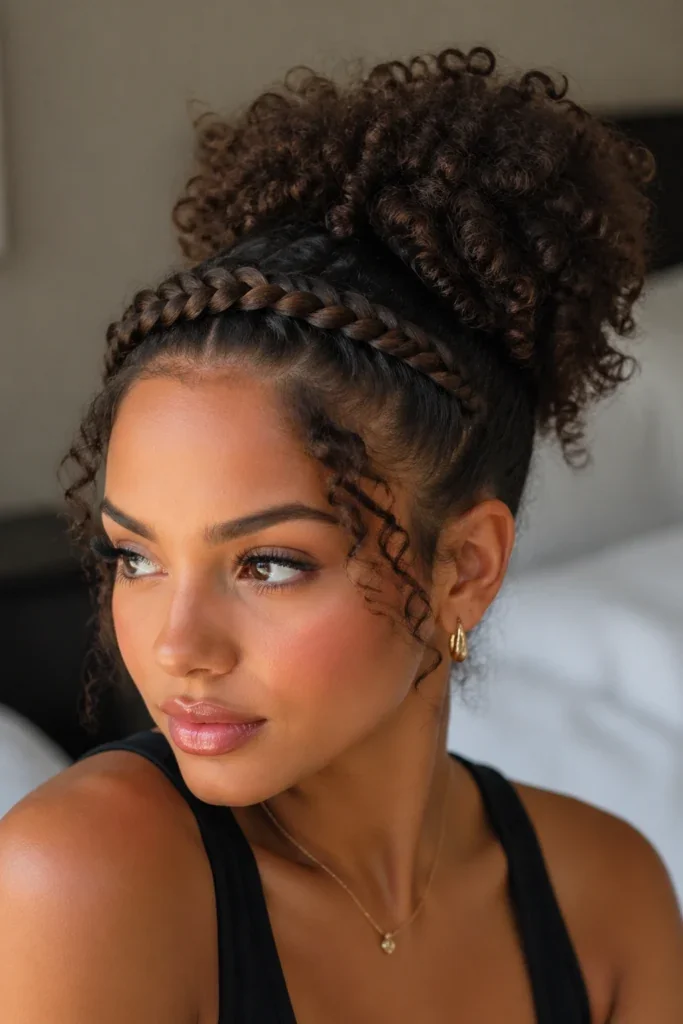
The braided crown wraps your head like a headband made from your own hair. A Dutch or French braid runs along the hairline while the rest of the curls pile up behind it in a full, textured updo. It looks intricate, but it is really just two techniques joined together: one braid and one gathered puff.
This style works best on second or third day curls, when strands have enough grip to hold the braid. Start with damp edges and a strong hold gel so the braid lays flat and smooth. Leave the braid ends loose at the back and tuck them under the gathered curls for a seamless finish.
Loose tendrils at the temples keep it soft and romantic instead of severe. Pull a few face framing curls free before you finish, and mist everything with a light hold spray. A few decorative pins or a small clip at the side can dress it up for weddings and evening events.
Take it down at night, re braid loosely if needed, and sleep in a satin scarf to protect the shape. With the braid doing the anchoring work, this updo can last two to three days with only minor touch ups around the edges.
Curly Ponytail Puff
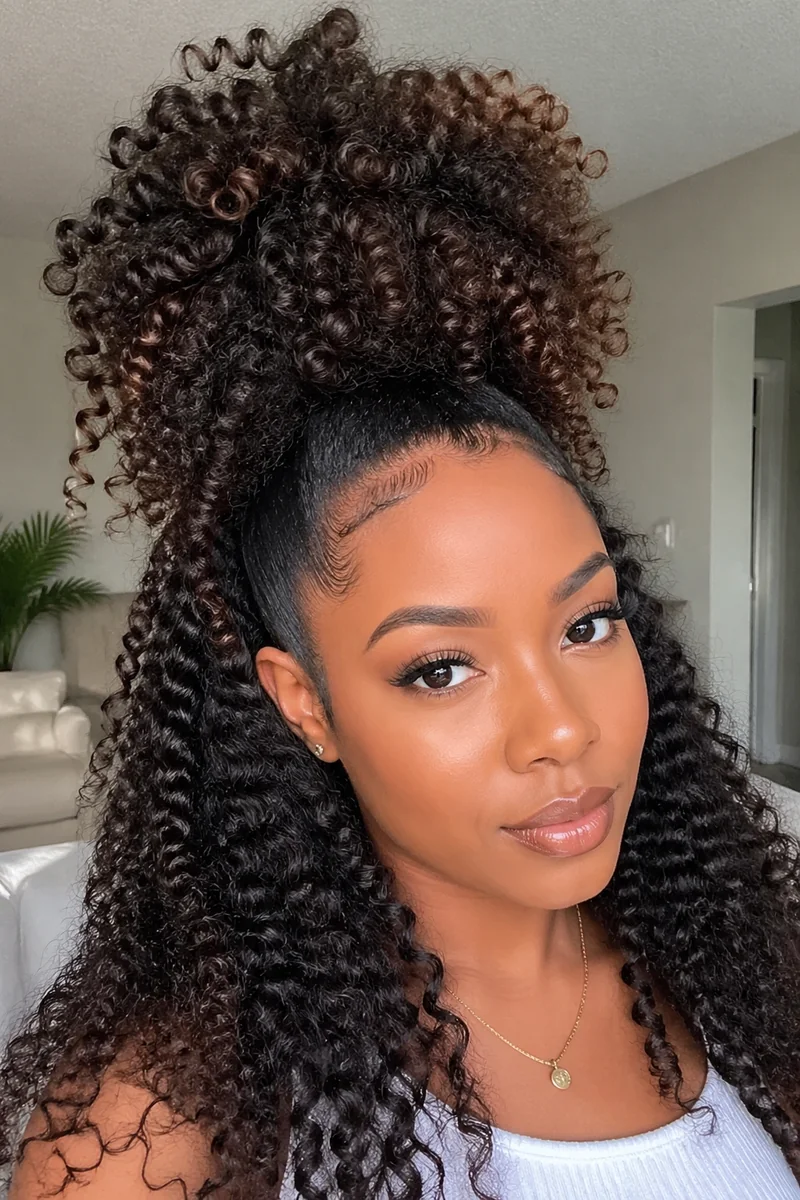
- Gather freshly moisturized hair at your crown or slightly higher for maximum lift.
- Smooth the roots with a boar bristle brush and edge control, then secure everything with two crisscrossed hair ties for extra hold.
- Stretch the puff gently from the inside to widen it, then shape the ends with a wide tooth pick.
- Wrap a small section of hair around the base of the tie to hide it, securing with a bobby pin underneath.
- Define the curls at the front of the puff with a dab of curl cream so they fall neatly over the hairline.
- Refresh on day two by lightly misting the puff with water and fluffing the roots with your fingers.
This style sits right at the sweet spot between casual and dressed up. The sleek base keeps it neat for work or school, while the big bouncy puff brings all the personality. It takes about ten minutes, holds all day on stretched curls, and looks great with hoop earrings and a bold lip.
Romantic Curly Updo
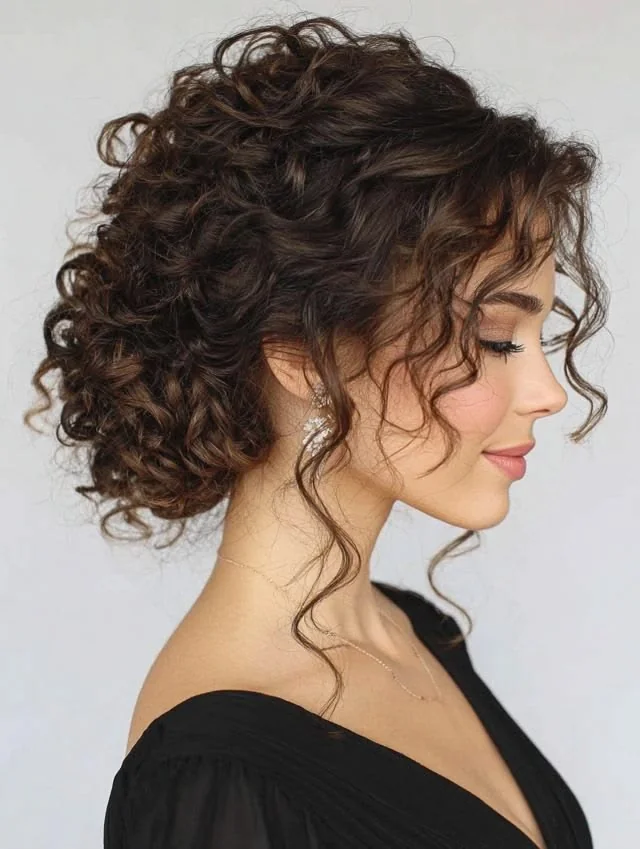
Quick Tip: Pin the updo while your curls are stretched but not fully blown out, so they keep their bounce and grip the pins without slipping.
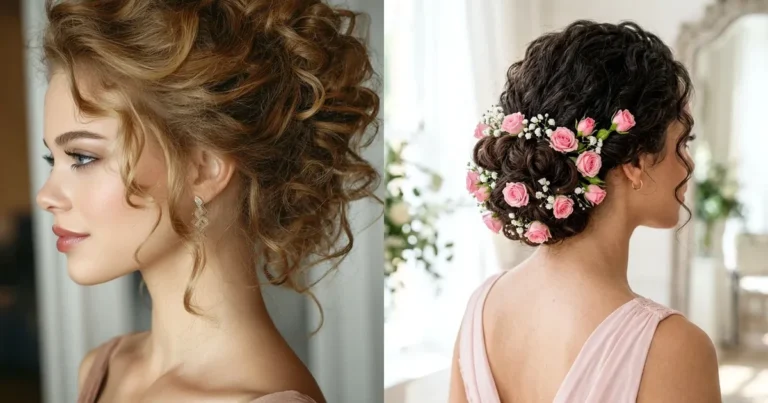
The romantic curly updo is all about softness. Curls are loosely gathered at the nape or the back of the head and pinned in layers, so each coil catches the light from a different angle. Wispy tendrils frame the face and neck, giving it that undone finish that works for date nights and weddings alike.
Work with day old curls for the best hold, and tease the crown lightly before pinning to build height. Tuck bobby pins into the underside of the curls so they stay hidden, and let a few pieces fall naturally instead of forcing every strand into place. A spritz of flexible hold hairspray keeps movement without stiffness. If a coil slips out during the evening, just re pin it on the spot instead of redoing the whole style.
Conclusion
That wraps up our 17 favorite curly hair ideas trending on Pinterest right now. From low effort buns to statement cuts, every style on this list earned its spot because real women are wearing and loving it. The right style can make your curls feel brand new without changing who you are.
Save this post to your hair board so you can find it again when you need inspiration. Try one new idea this week, even a small change like a different part or a new accessory counts. And if a friend is always complaining about her curls, share this list with her. She will thank you later.