18 Show-Stopping Natural Curly Hairstyles for Everyday Glam
Finding natural curly hairstyles that feel true to your texture can take real trial and error. I have spent years testing routines on my own 3B curls, and I know how frustrating it is when a style looks great online but falls flat on your own head. This list is different. Every idea here is built for real, untouched texture: no silk presses, no heat-trained ends, just your natural pattern at its best. Whether your curls are loose waves or tight coils, you will find looks for busy mornings, workdays, and evenings out. Pin the ones that speak to you and work through them one wash day at a time.
You do not need a drawer full of products or hours of free time. Most of these styles take under twenty minutes once you know the steps, and several protect your ends while you wear them. Read through the full guide, save your favorites, and give at least one new style a try this week. Your curls deserve to be the main event.
Wash and Go Curls
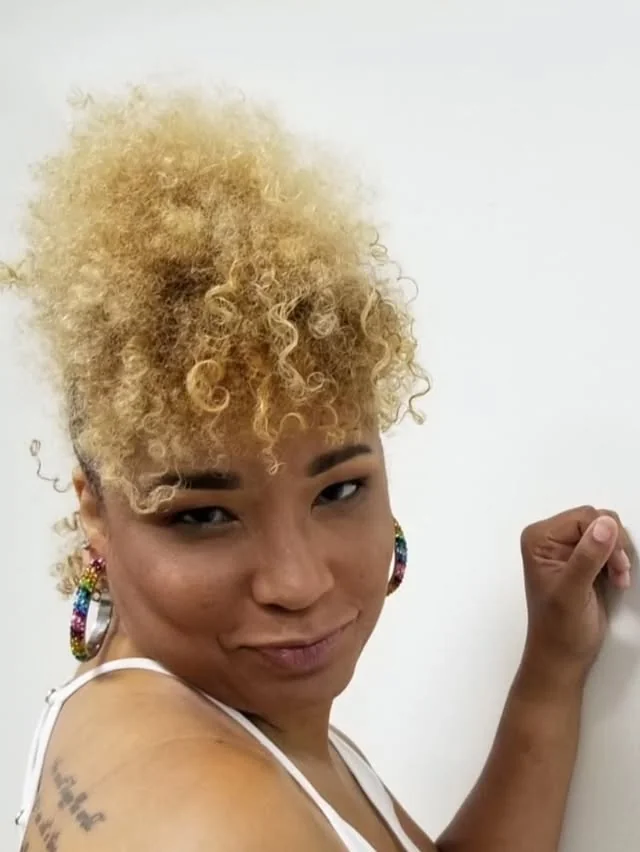
The wash and go is the foundation of every natural routine for a reason. Clean, well-hydrated hair with a good styling product can hold defined curls for days, and nothing shows off your real pattern like letting it do its thing. I reach for this style on weeks when I want low effort with a polished result. The trick is application: rake your leave-in and gel through soaking wet hair in sections so every strand gets coated.
Drying matters as much as product. Diffusing on low heat sets the cast faster and cuts frizz, while air drying works if you can keep your hands off while it sets. Once the gel cast is fully dry, scrunch it out with a little oil on your palms. You get soft, defined curls that move naturally and last until your next wash day.
Pineapple Updo Magic
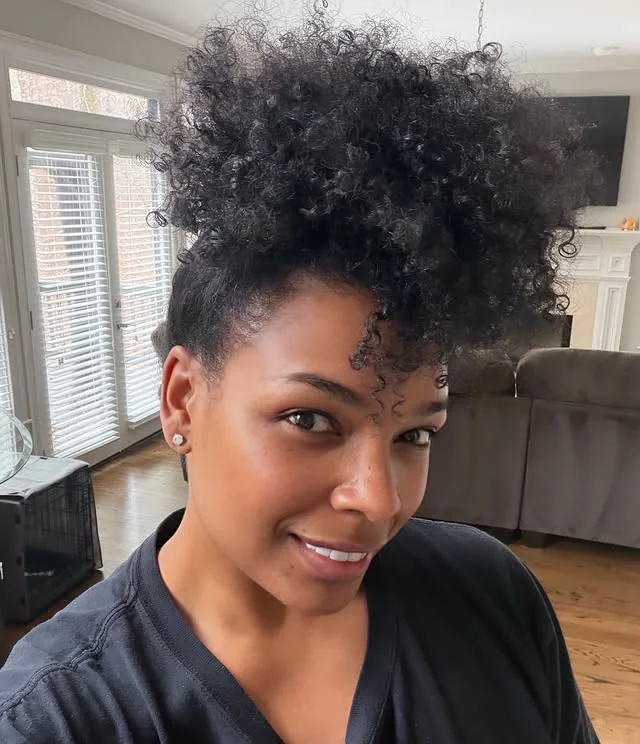
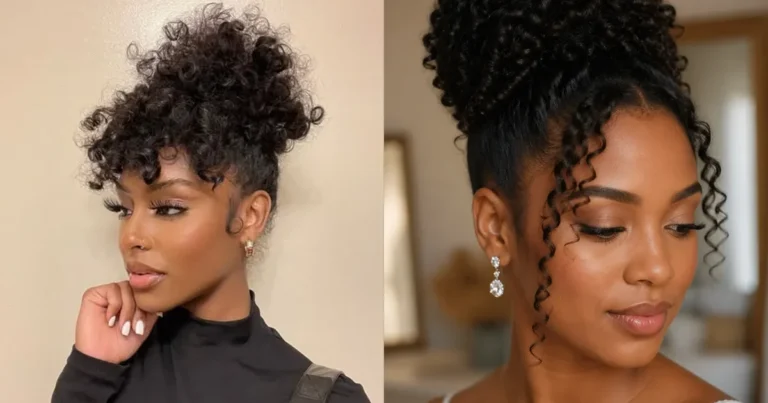
- Gather all your curls to the very top of your head, like a fountain.
- Secure loosely with a satin scrunchie so the curls are not stretched flat.
- Let the ends cascade forward and fluff the roots for height.
- Edge control or a toothbrush smooths the hairline without disturbing curls.
The pineapple is the rare style that works as both a daytime look and a nighttime protectant. I have worn it to brunch and to bed in the same twenty-four hours. It keeps volume at the crown while the length stays stretched, and it takes about three minutes once your curls are already defined.
Defined Twist Out
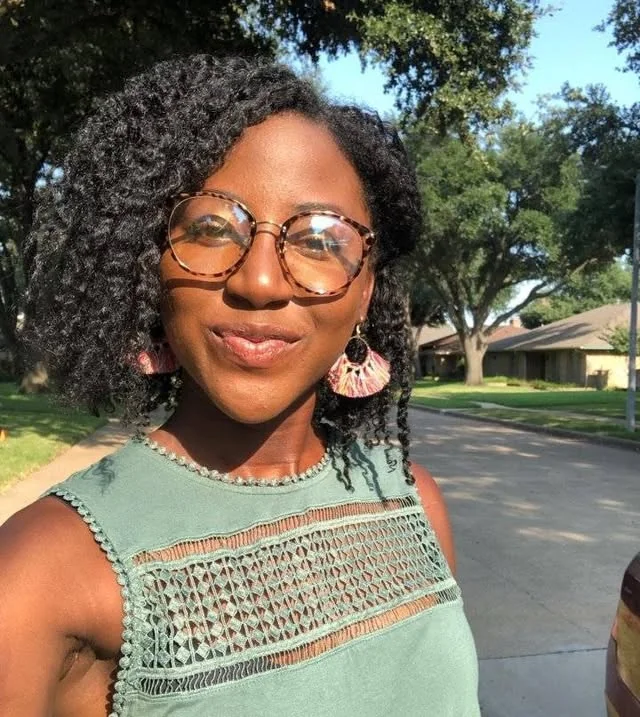
Quick Tip: Twist on damp, not dripping wet hair. Hair that is too wet takes forever to dry and the twists unravel before they set. Hair that is too dry will not hold the pattern. Damp hair with a cream and a light oil gives you the stretched, defined waves that make this style famous.
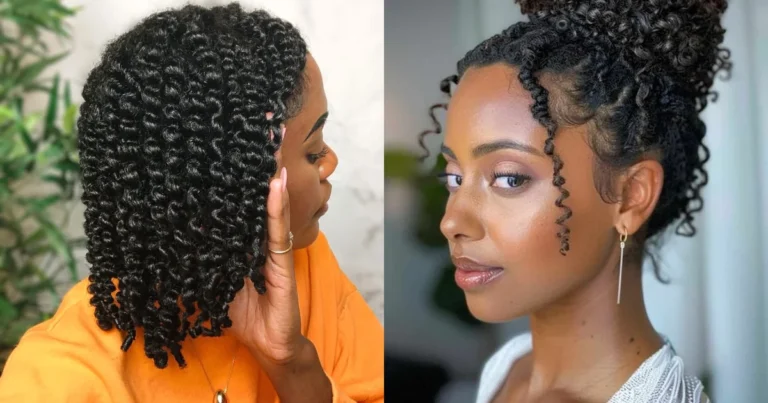
A twist out is one of the most forgiving styles in the natural hair world. Uneven twist sizes still look intentional, and the style gets better on day two and three as it loosens into soft volume. Two-strand twists are the classic choice, but flat twists at the front add a neat hairline if your edges tend to frizz. Separate each twist gently with oiled fingers and resist the urge to over-separate. Bigger sections mean bigger hair, smaller sections mean more definition.
Curly High Puff
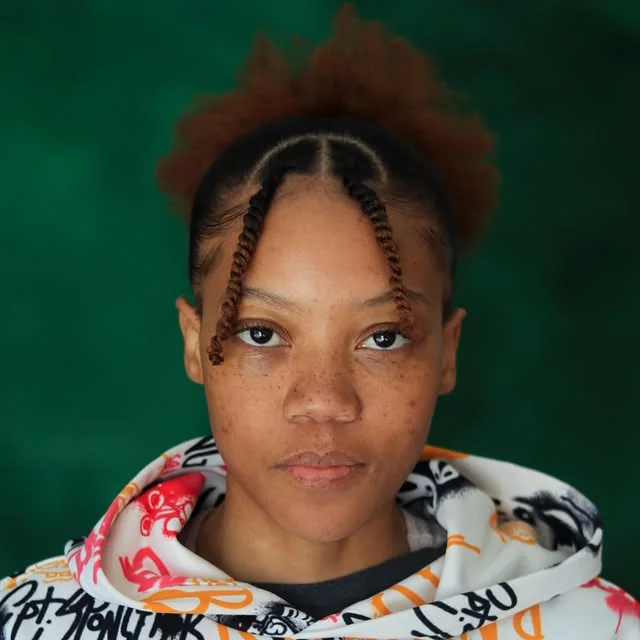
Before: flat, undefined curls pulled into a tight ponytail that gives you a headache by noon.
After: a soft, rounded puff sitting high on the crown with a stretched hairline and full, springy ends.
The difference comes down to tension and moisture. Use a wide headband or a loose elastic instead of a thin rubber band, and push the puff forward before you tighten so the front stays smooth. I stretch my hair with the banding method the night before so the puff has real height. A little edge control on the hairline and a pick at the roots finishes the look. This is my go-to when my wash day curls are on day three and need new life.
Half Up Style
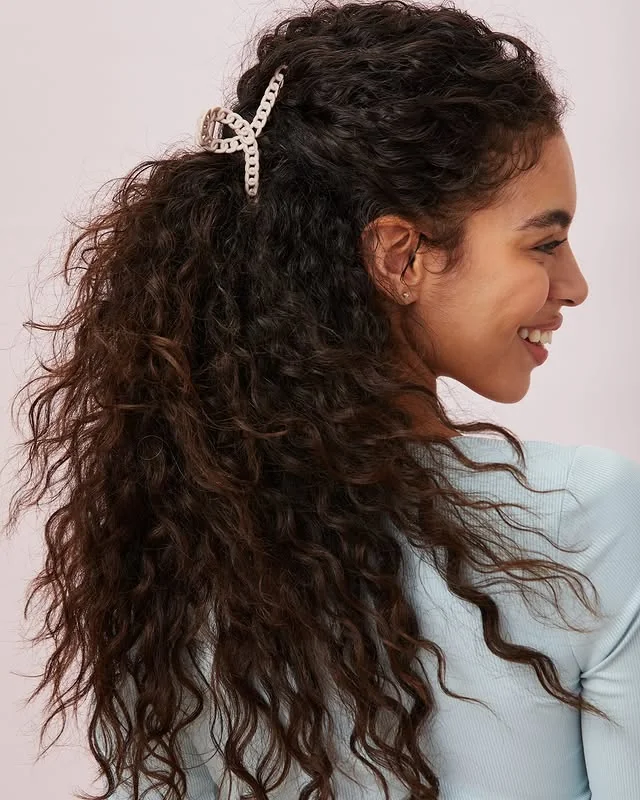
- Part the top section of your hair from ear to ear across the crown.
- Smooth the section with a brush and a dab of gel, keeping the curls underneath free.
- Gather it into a small puff or mini bun at the crown and secure with a scrunchie.
- Fluff the bottom curls and arrange a few face-framing pieces in front.
The half up style gives you the best of both worlds: hair off your face with length still showing. It works on every curl type and every length past the chin. I like it for workdays because it looks intentional and neat while the bottom half keeps its natural movement. Swap the mini bun for a top knot or a puff depending on your mood.
Side Swept Curls
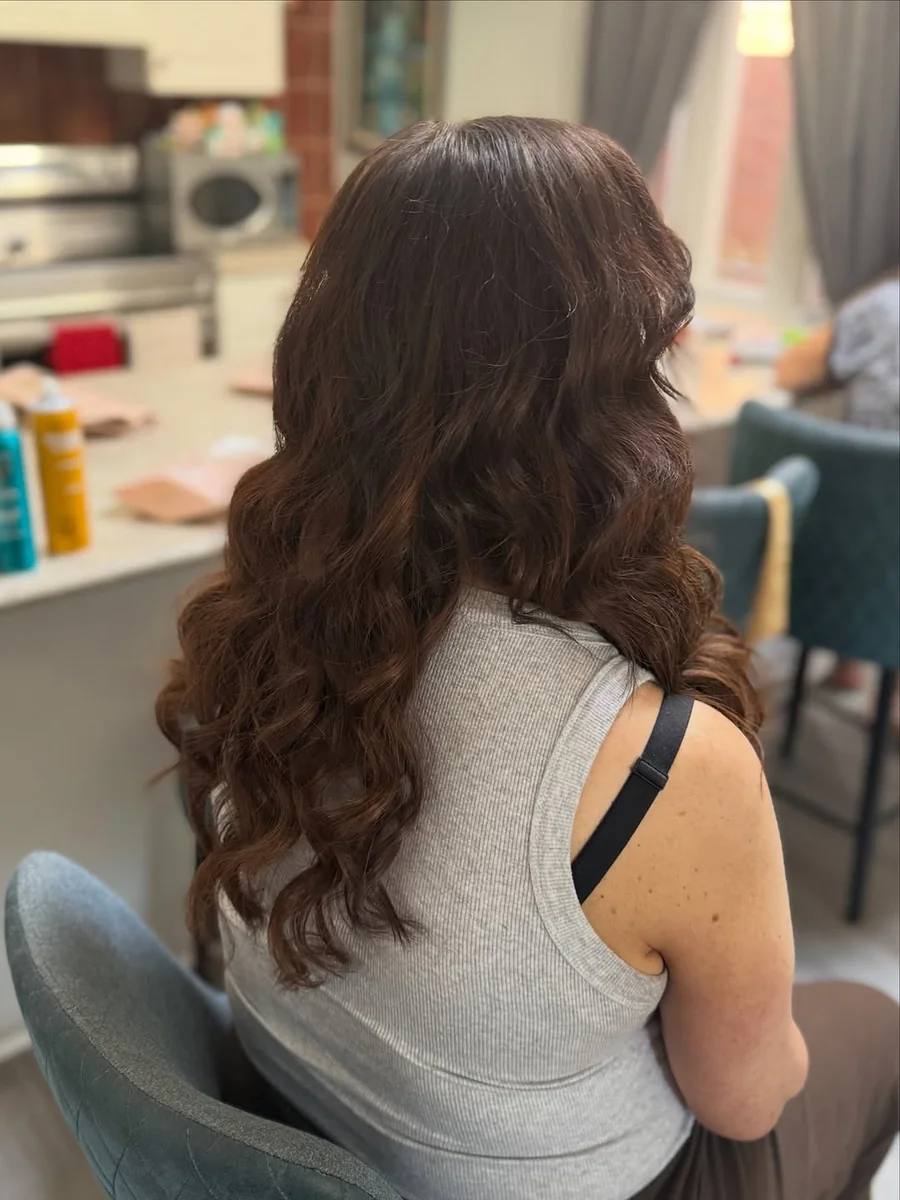
- DO: part your hair deeply on one side while it is still damp for a natural fall.
- DO: pin the smaller side flat with bobby pins that match your hair color.
- DON’T: drag a fine-tooth comb through dry curls to make the part. You will create frizz.
- DON’T: skip product on the pinned side. It needs hold to stay sleek all day.
Side swept curls bring instant drama with almost no effort. The deep part creates the illusion of volume on one side, which photographs beautifully and works for everything from date night to weddings. I have used this as my event style for years because it holds up through a whole evening with just a couple of pins.
Voluminous Afro Glow
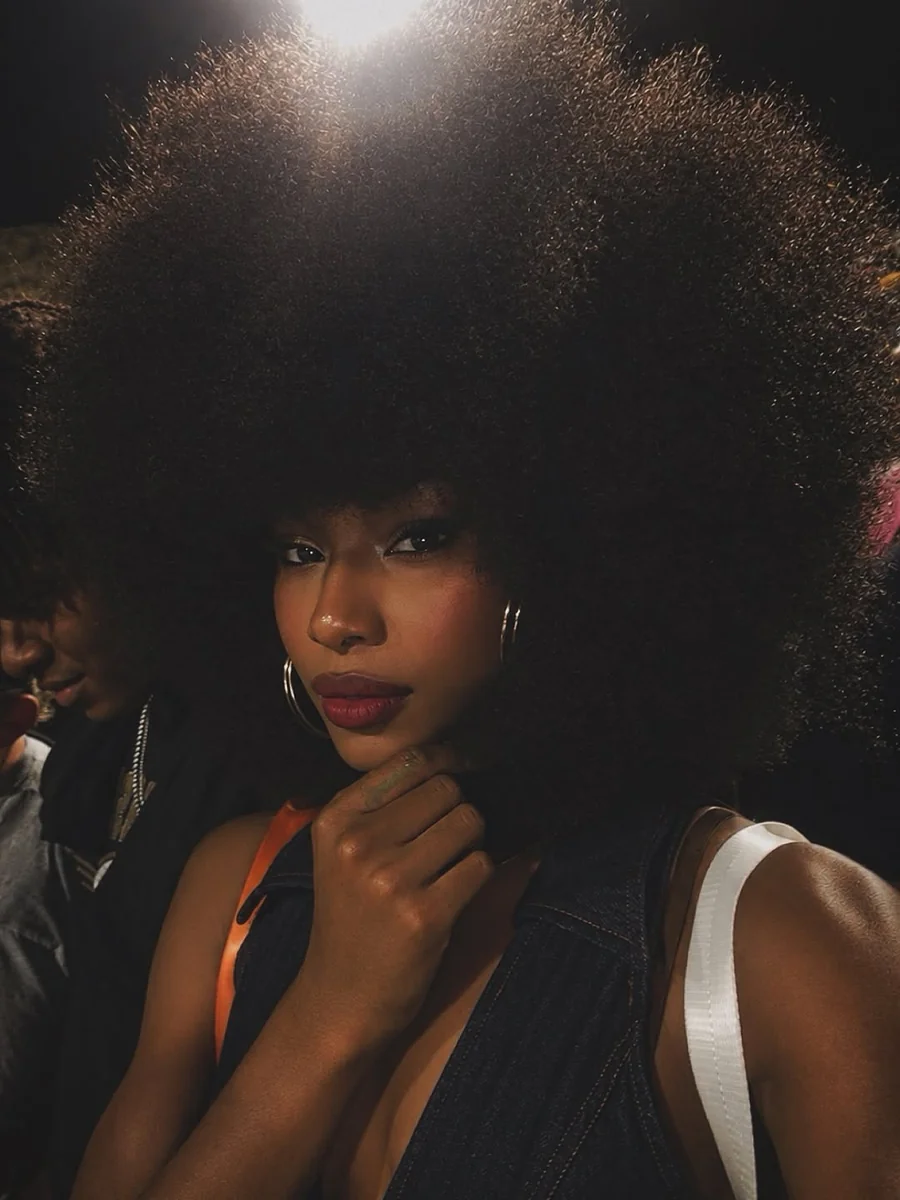
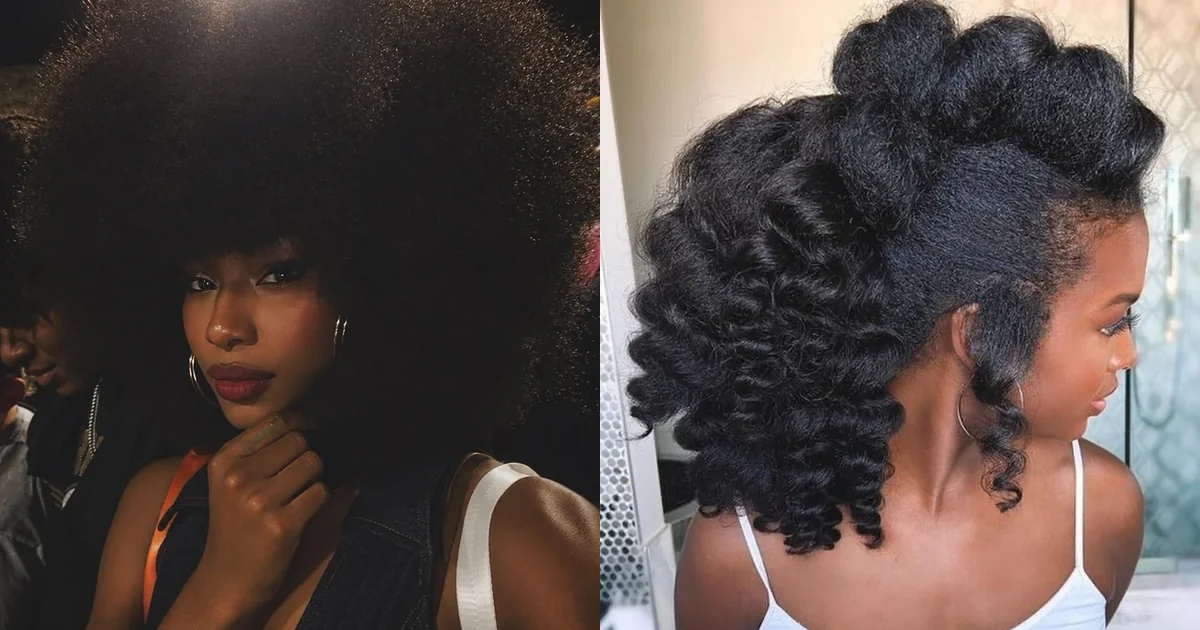
Quick Facts: Cost: almost nothing beyond your regular products. Time: 10 to 15 minutes on stretched hair. Lasts: 2 to 4 days with nightly pineappleing. Best for: type 4 textures and anyone who wants maximum volume.
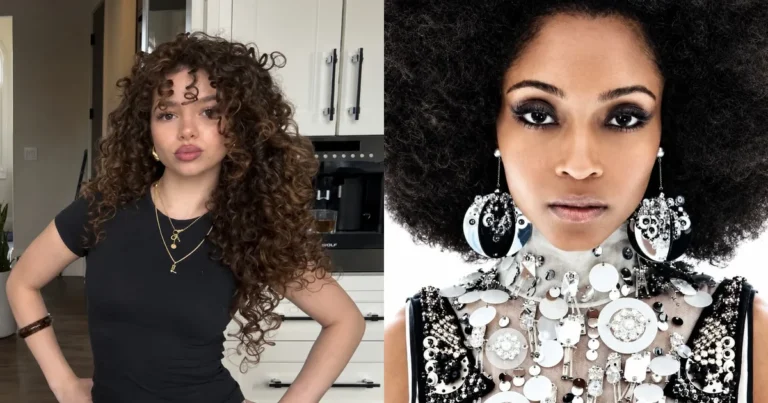
The afro is a statement of confidence and one of the healthiest styles you can wear, since there is no tension and no heat involved. Stretch your hair first with twists, braids, or the banding method, then pick it out from the roots with a wide-tooth pick or your fingers. Shape matters more than size: pick the sides into a round silhouette and leave the crown full. A light oil on your hands keeps the picked-out hair soft instead of dry. This style only gets better as the week goes on.
Braided Crown Curls
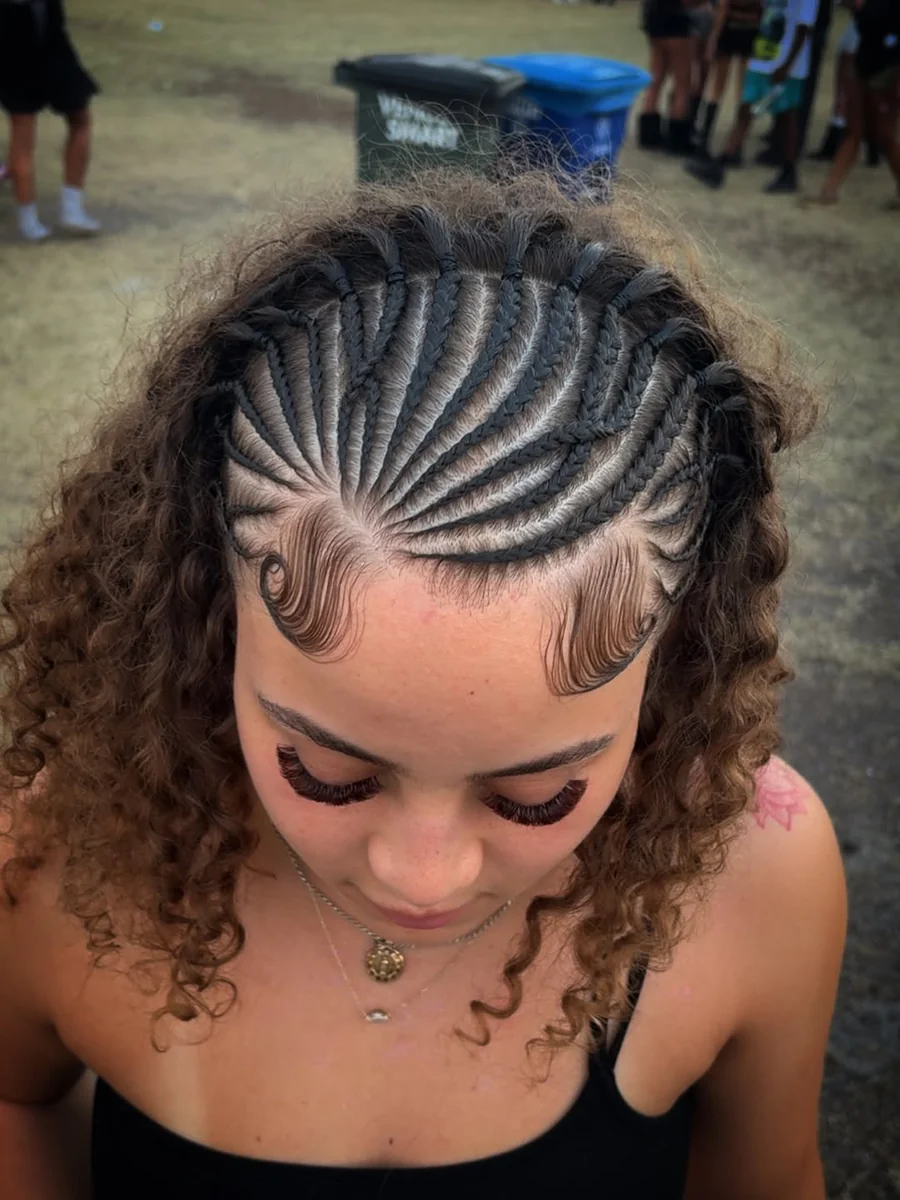
A braided crown turns everyday curls into something that looks like it took a professional. Two Dutch braids started at each temple and pinned across the crown create a halo effect, while the remaining curls fall free underneath. I wore this to a wedding last summer and got asked for my stylist’s number twice. It took me twenty minutes in the mirror.
The secret is keeping the braids loose and a little messy. Tight braids against a curly texture look stiff and can cause breakage at the hairline. Pancake the braids by gently tugging the edges wider after pinning, and let a few curls escape around your face. This style holds all day and the braids keep the top neat while the bottom half stays soft.
Sleek Low Bun
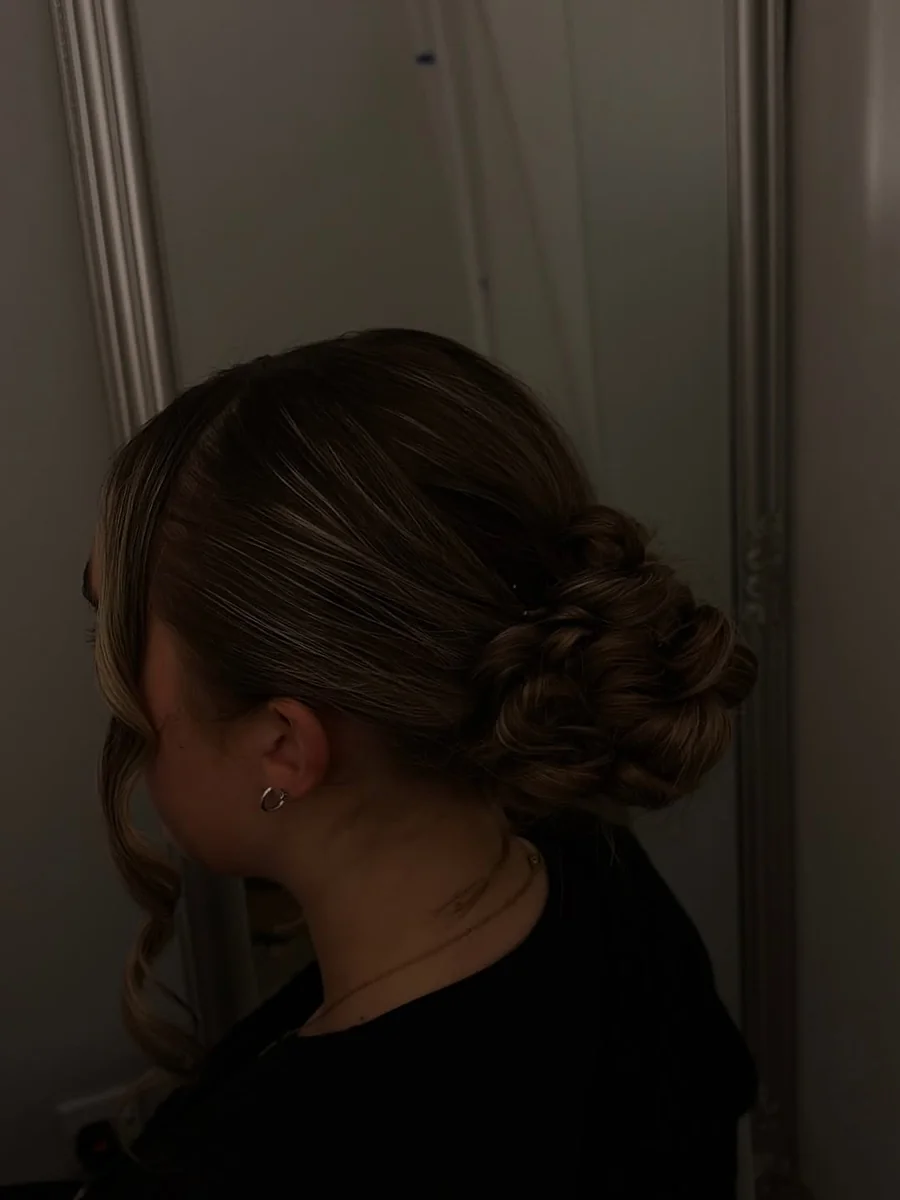
- Brush damp hair back with gel, working in sections for smoothness.
- Gather at the nape and secure with a snag-free elastic.
- Twist the length into a bun and pin, tucking the ends underneath.
- Lay your edges with a soft brush and tie a satin scarf for ten minutes to set.
The sleek low bun is the most versatile polished style for natural hair. It works for the office, formal events, and second-day hair that needs structure. The scarf trick is what makes it last: ten minutes of setting time melts the gel into a smooth finish that holds through humidity. I keep this in my rotation for weeks when I want my hair completely out of the way without sacrificing style.
Bantu Knot Set
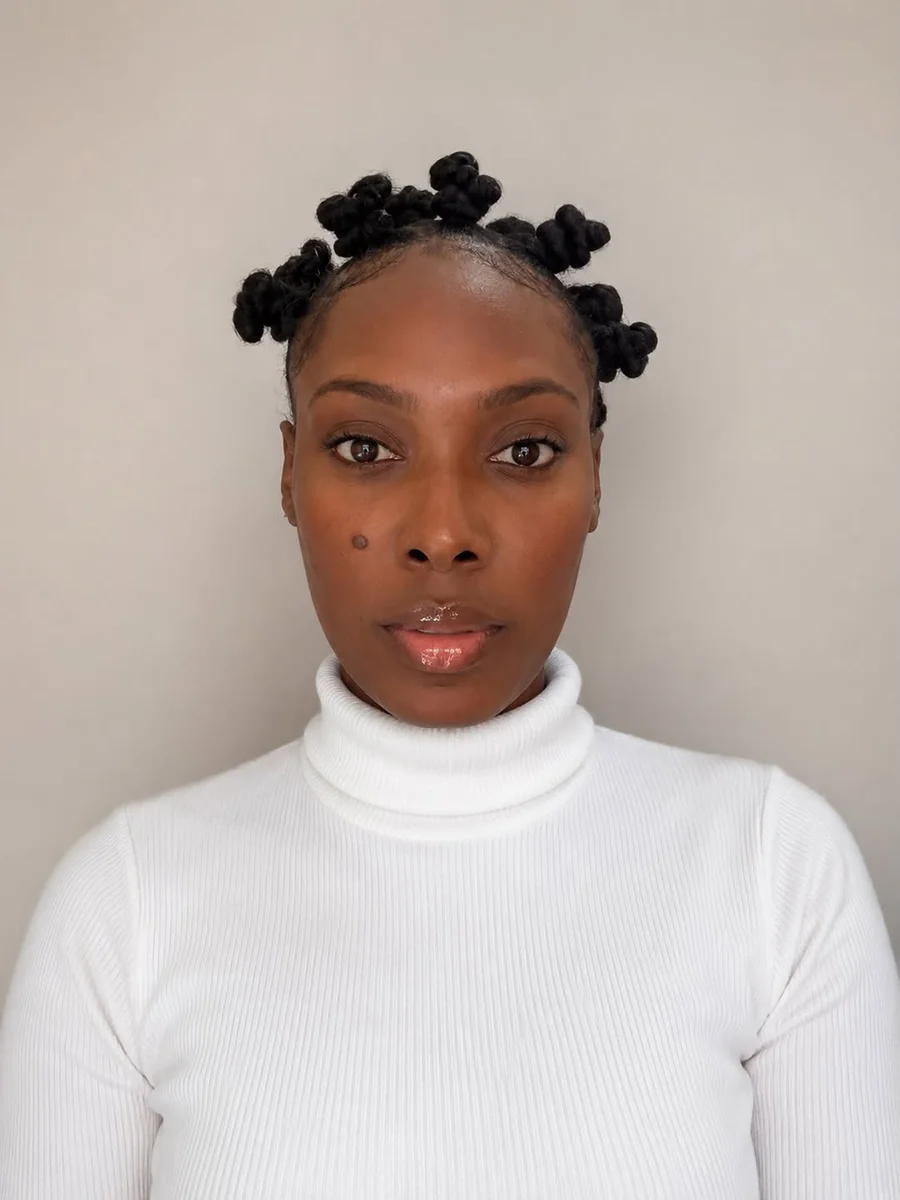
Quick Tip: Keep your sections even and twist each one in the same direction. Uneven sections give you uneven curls, and mixing twist directions makes the unravel messy instead of defined. Take your time on parting and the rest of the style practically does itself.
Bantu knots do double duty: they are a bold style on their own and they unravel into perfect spiral curls. Section damp, moisturized hair into squares, twist each section from root to tip, and wrap it into a knot against the scalp. Wear the knots for a day or two, then release them for a knot-out with incredible definition. I love this as a weekend style because Saturday’s knots become Sunday’s curls with zero extra work.
Curly Bob Bounce
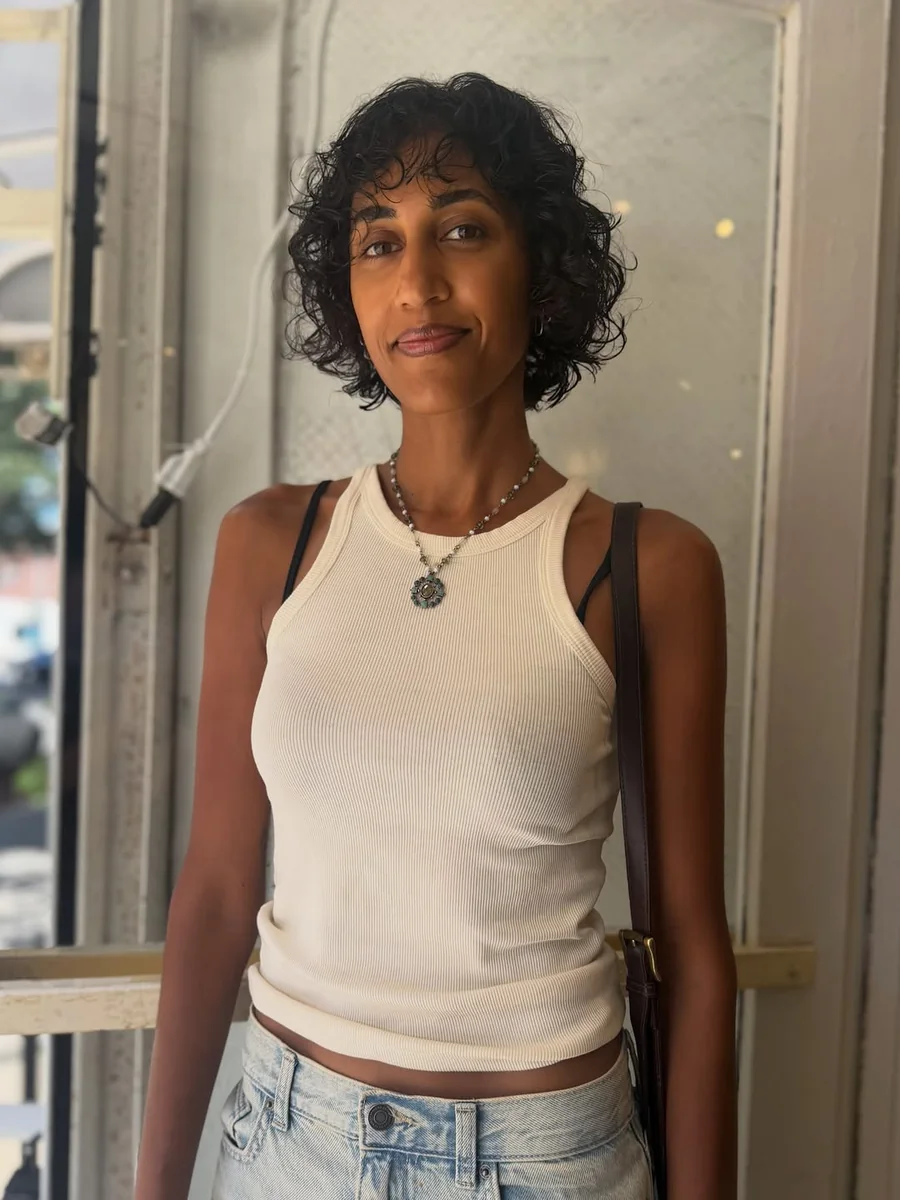
Before: long curls weighed down at the roots, triangle-shaped and hard to style.
After: a chin-to-shoulder bob with layers that spring up, full volume at the crown, and ends that curl under instead of dragging down.
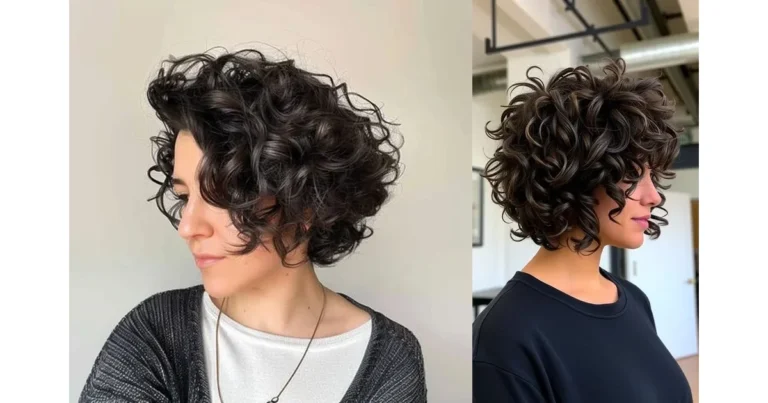
The curly bob works because removing length removes weight, and curls always shrink up when they are free. Ask your stylist for dry-cut layers shaped to your curl pattern, since wet cutting cannot predict shrinkage. I cut my own hair into a bob two years ago and the bounce was immediate: wash days got shorter, styles held longer, and my curls finally had the volume I always wanted. Give it two weeks of trims and shaping to settle into its final form.
Finger Coiled Ringlets
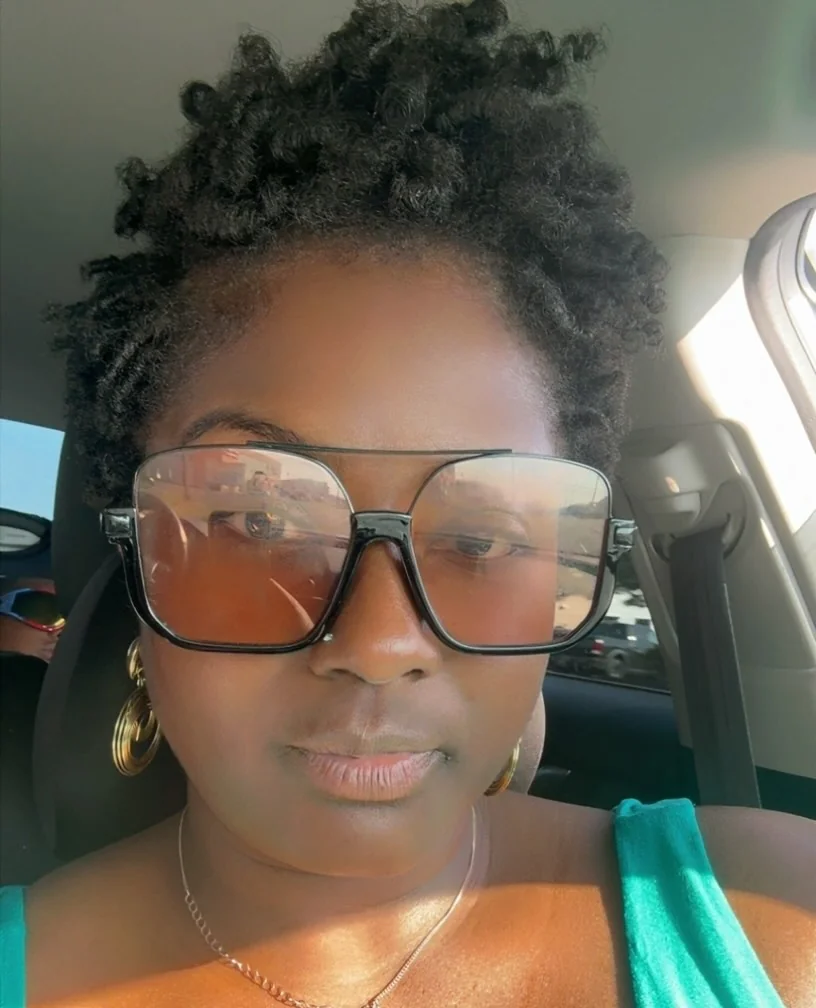
- Work on freshly washed, soaking wet hair in small sections.
- Apply leave-in and a holding gel to each section, smoothing it through.
- Wrap the section around your finger from root to tip to form a coil.
- Release gently and do not touch the coil until it is completely dry.
Finger coiling gives you the most defined ringlets possible without heat. It is time-consuming, expect an hour or more on thick hair, but the results last for days and the definition is unmatched. This technique is perfect before a big event or photos. I coil only the front and crown sections when I am short on time, since those are the pieces everyone sees, and let the back do its own thing.
Space Bun Pair
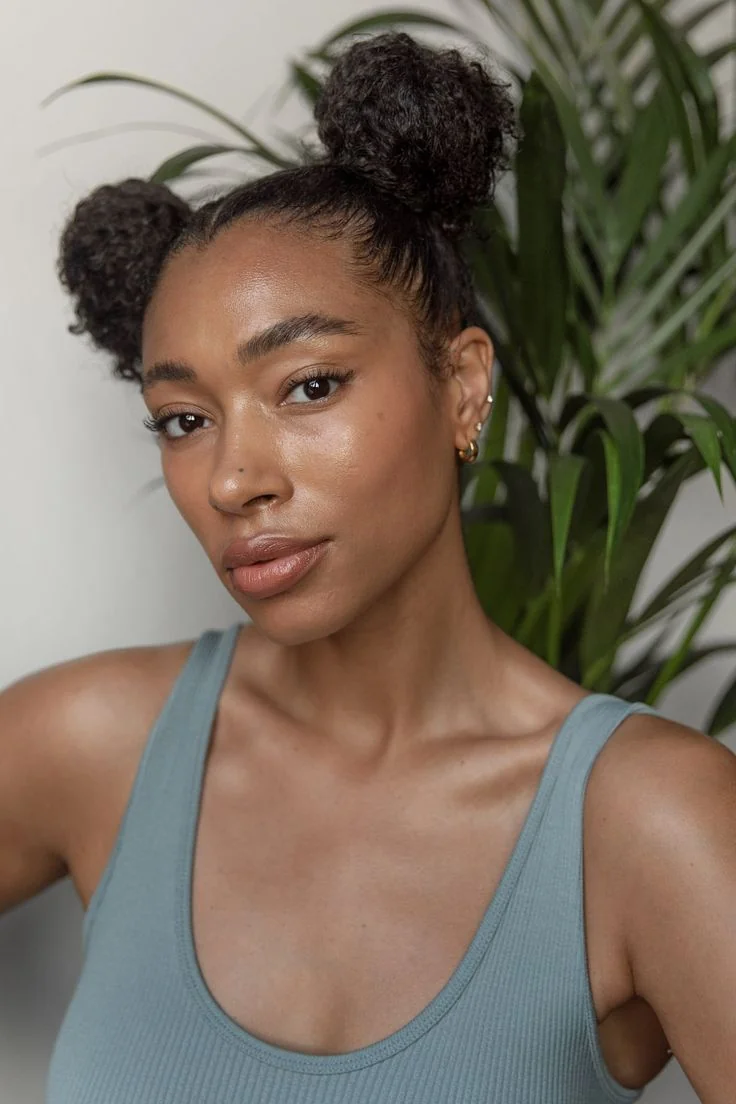
- DO: part your hair down the middle while damp for clean, even buns.
- DO: leave the curls at the ends of each bun loose and fluffy for texture.
- DON’T: pull the buns too tight. Tension headaches ruin a fun style fast.
- DON’T: forget the back. Check with a hand mirror so both buns sit at the same height.
Space buns bring playful energy to natural curls and keep hair completely off your neck on hot days. They work on every curl type, though tighter textures hold the shape longest. I wear these for festivals and casual weekends when I want something cute that survives dancing, wind, and a full day out. Add small braids leading into each bun if you want extra detail.
Curly Ponytail Lift
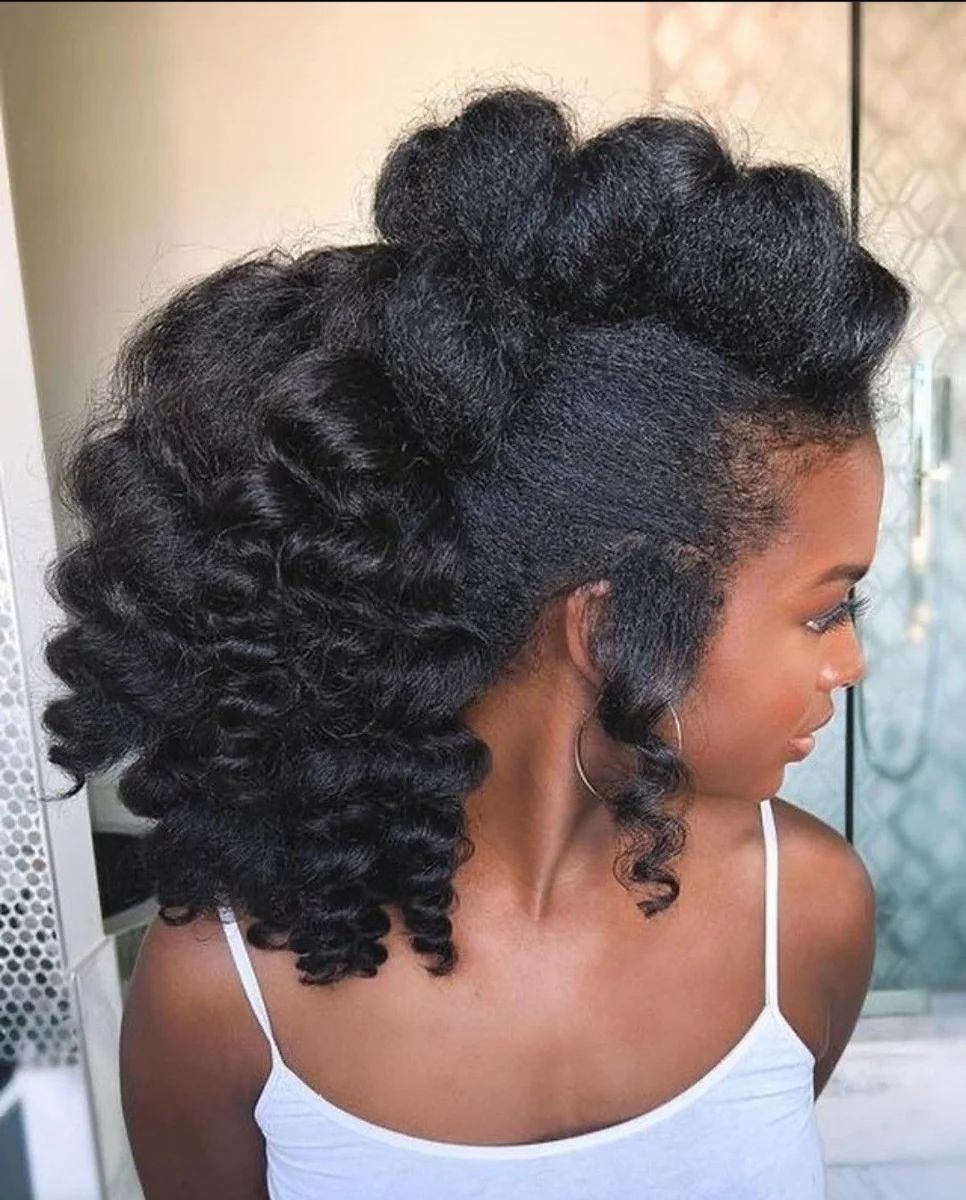
Quick Facts: Cost: one good elastic and some gel. Time: 5 minutes on defined curls, 15 on stretched hair. Lasts: all day with a midday fluff. Best for: medium to long curls that need instant polish.
The high curly ponytail is simple but never boring when the curls are defined. The lift at the crown elongates your face and the cascading curls show off your length. Smooth the base with gel on damp or refreshed hair, secure high with a strong elastic, then wrap a small section of hair around the base to hide the band. Fluff the ponytail from underneath for fullness. I use this as my gym-to-dinner style because it survives a workout and still looks intentional after.
Headband Curls Look
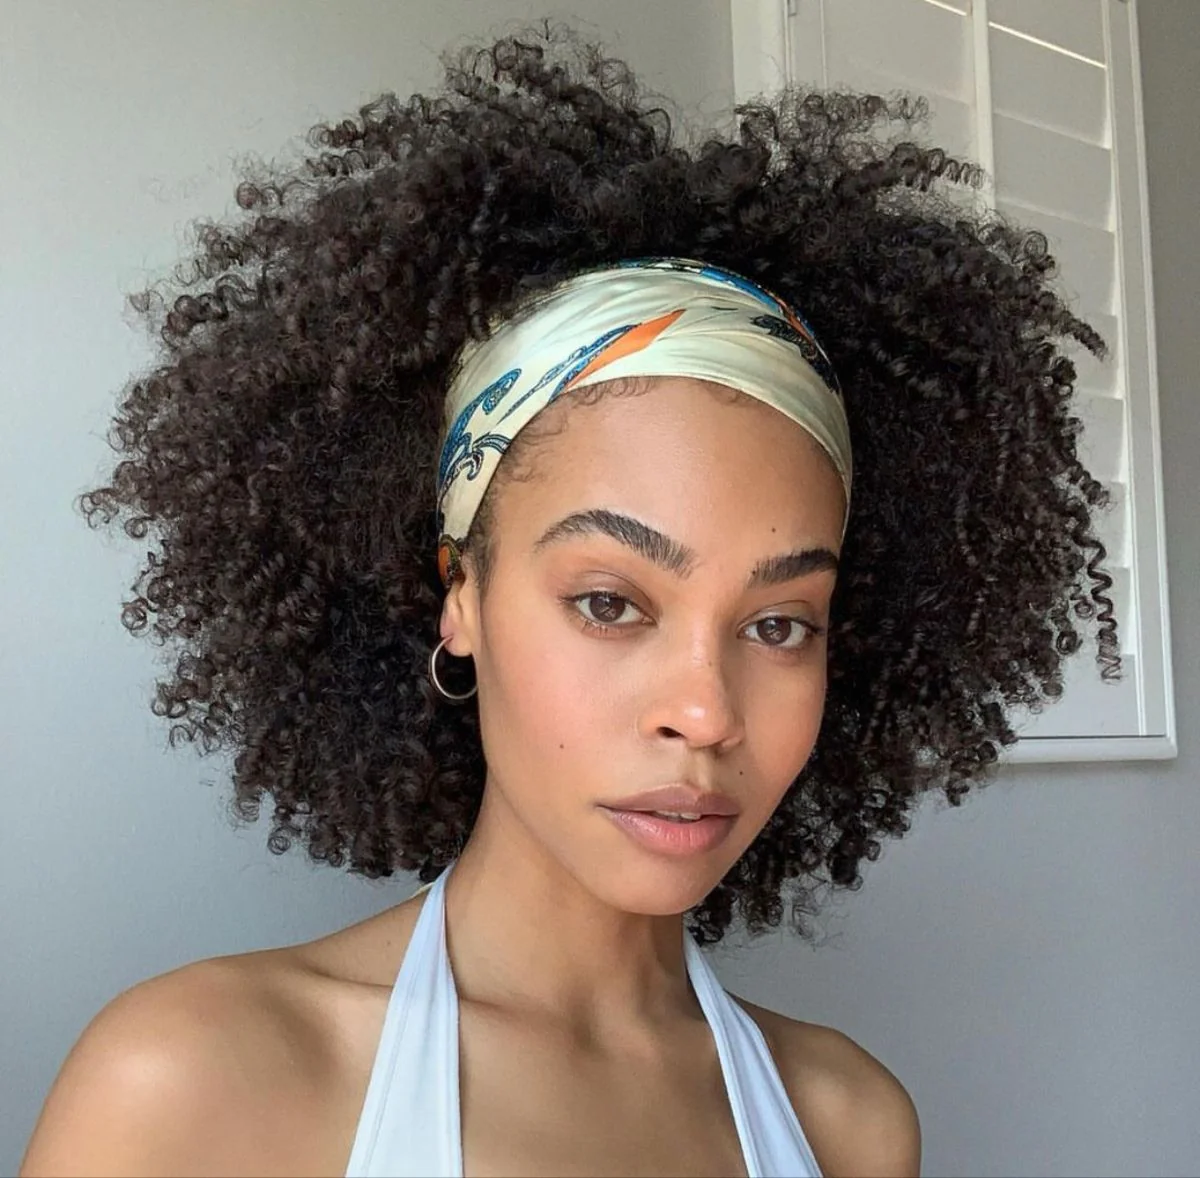
A headband is the fastest accessory upgrade for natural curls. Push a wide fabric band back about an inch from your hairline and let your curls do the rest: the band creates lift at the crown while the length falls free. I keep a few bands in different colors and prints by my door for mornings when I have exactly four minutes.
Choose bands with a soft inner lining or wrap a satin strip underneath to avoid friction on your edges. Wide bands read casual and sporty, thin bands read dressed up, and a printed silk scarf folded into a band works for evenings. This is also a great day-three or day-four style, since the band hides a less-than-fresh hairline while the ends still look good.
Layered Shoulder Curls
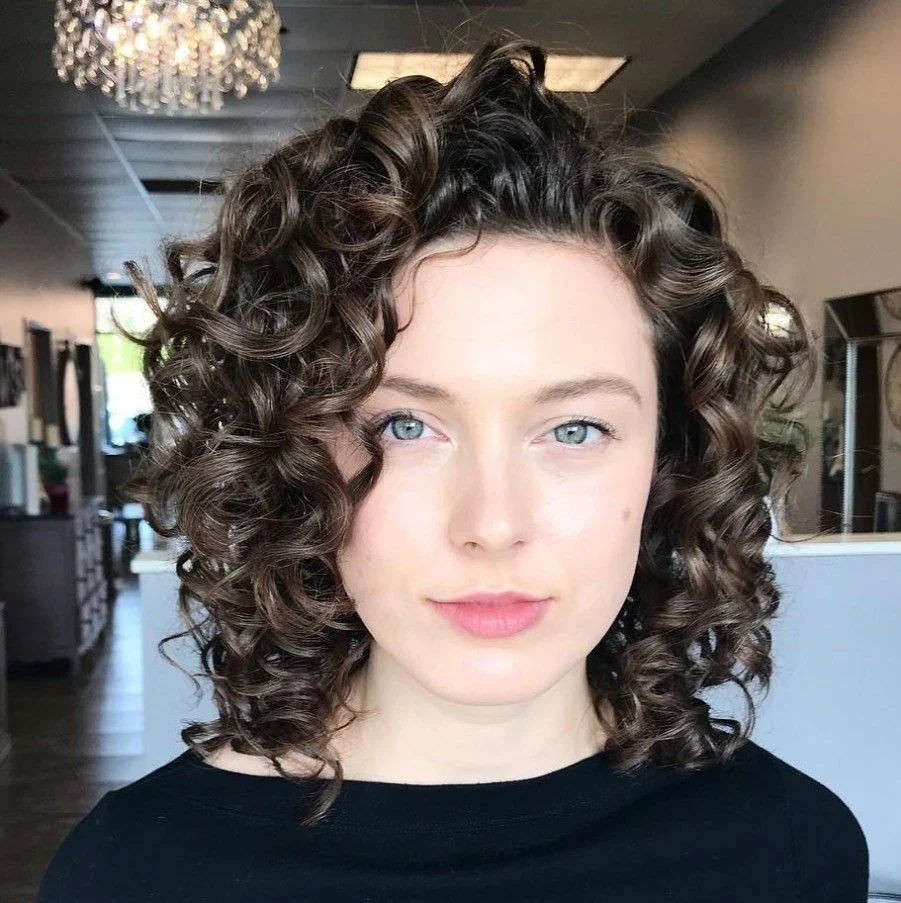
- Layers remove bulk and let each curl spring to its natural shape.
- Shoulder length is the sweet spot: long enough to style, short enough to manage.
- Face-framing layers open up your features and photograph well.
- Ask for a dry cut so the stylist sees your true curl pattern and shrinkage.
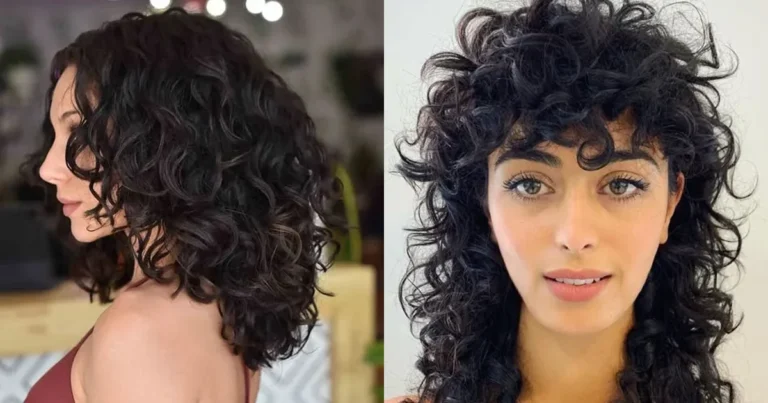
Layered shoulder-length curls are the most requested natural cut for good reason. The length works for buns, ponytails, and wash and gos, while the layers guarantee movement and volume. I have kept this length for over a year because it is the easiest to maintain: trims every three months, regular deep conditioning, and the shape mostly takes care of itself. If you are growing out a shorter cut, this is the milestone length worth aiming for.
Side Part Definition
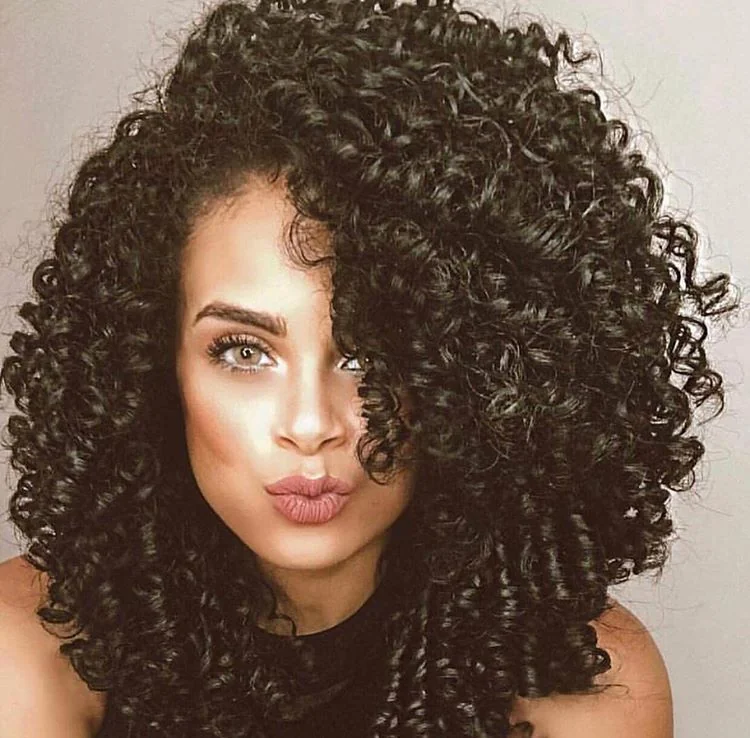
Quick Tip: Train your part while your hair is wet. Wherever your hair dries is where it wants to stay, so set a deep side part on wash day and clip the roots flat at the part for the first hour. After a few wash days your hair will fall into the side part on its own.
A deep side part changes the entire geometry of your curls. It creates volume on top, frames one side of your face, and makes even a simple wash and go look styled. This works best on hair with some length, since short curls spring back to center. I switched to a side part after years in the middle and the difference in photos was immediate: more dimension, more shape, more compliments. Pair it with tucked-back sides for a sleek evening version.
Overnight Plopped Curls
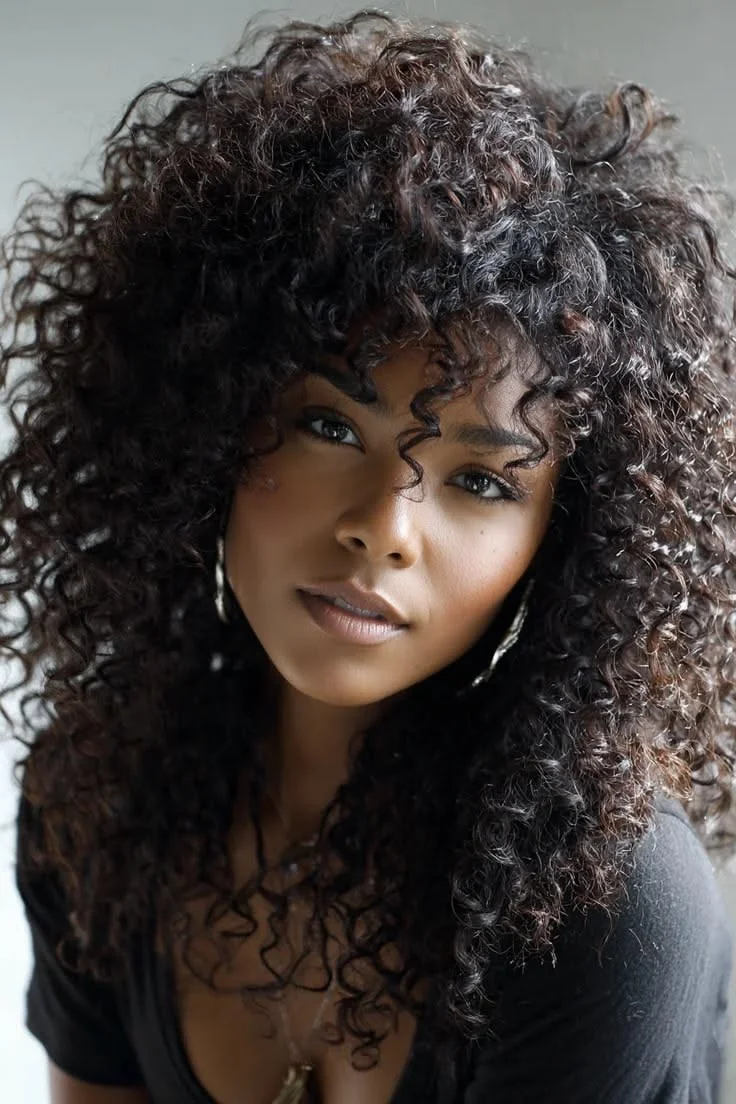
Before: wash day curls dried flat against your head, stretched out and frizzy by morning.
After: bouncy, defined curls with lift at the roots and clumped ends, ready to wear with just a fluff.
Plopping means wrapping wet, product-coated curls in a cotton T-shirt or microfiber towel so they dry scrunched instead of pulled down by gravity. Do your routine at night, plop for twenty minutes to remove excess water, then either sleep in a loose plop or pineapple on top of it. I plop every single wash day because it cuts my diffusing time in half and my curls always dry with more volume. In the morning, remove the wrap, scrunch out any cast, and shake at the roots. That is the whole routine.
Conclusion
These 18 ideas prove that natural curly hairstyles can carry you through every part of your routine, from rushed mornings to special evenings. The common thread is simple: work with your texture instead of against it, keep your hair moisturized, and protect your ends while you style. Start with the one or two looks that fit your current length and build from there. Save this guide on Pinterest so you can come back to it on wash day, try a new style each week, and share your results with someone who is still figuring out their own curls. Your natural pattern is already the look. These styles just help it shine.