20 Timeless Curly Hairstyles for Long Hair for Everyday Glam
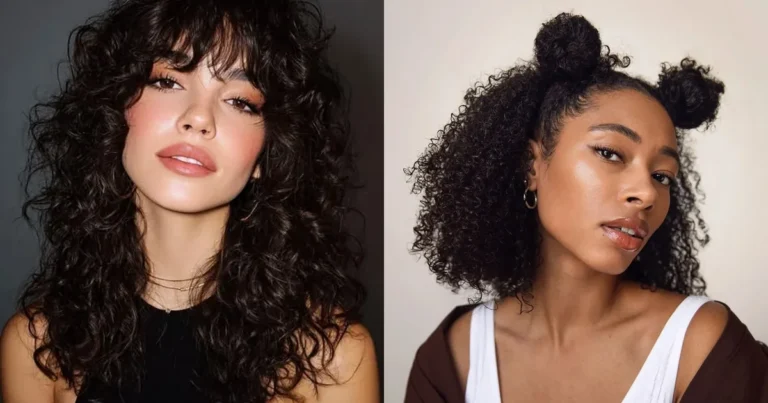
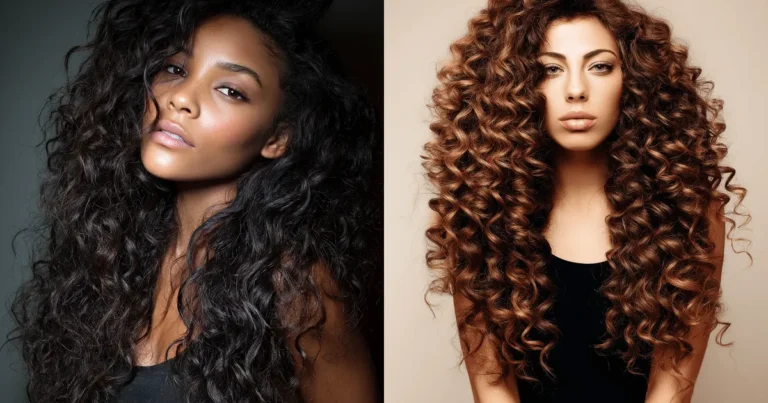
Long hair and natural texture are a dream pair, and these curly hairstyles for long hair prove it. Whether your curls are loose waves, springy coils, or tight ringlets, length gives you room to play with layers, braids, updos, and polished finishes that shorter hair simply cannot pull off. I have spent years experimenting with my own long curls, and the styles below are the ones that actually hold up through long days, humid weather, and back-to-back plans.
You will find 20 ideas below, each one suited to different textures and moods, from soft everyday looks to statement styles made for photos. Save your favorites to Pinterest, try one this week, and share the ones that get you compliments.
Voluminous Spiral Layers

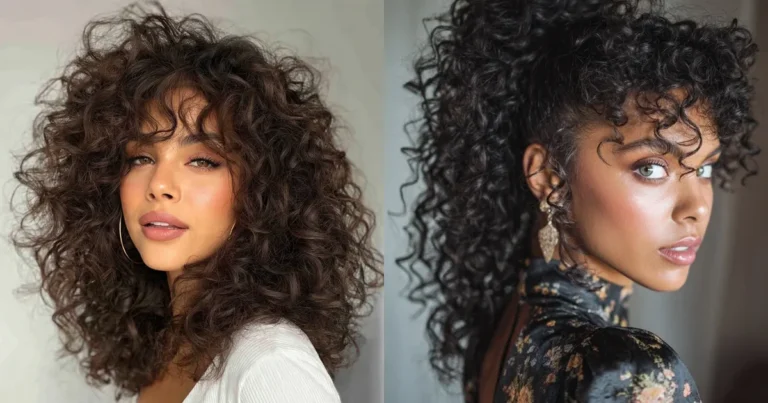
Spiral layers are the backbone of great long curly hair. Cut at different lengths through the hair, they remove the heavy triangle shape that drags curls down and let each ringlet spring up with its own personality. The result is movement that starts near the crown and flows all the way to the ends, which photographs beautifully from every angle.
Ask your stylist for long layers that begin around chin level and graduate downward. On wash day, apply a curl cream to soaking wet hair and scrunch upward so the layers clump into defined spirals. Once dry, flip your head over and shake gently at the roots for that full, bouncy finish that makes this cut look expensive.
Half-Up Top Knot

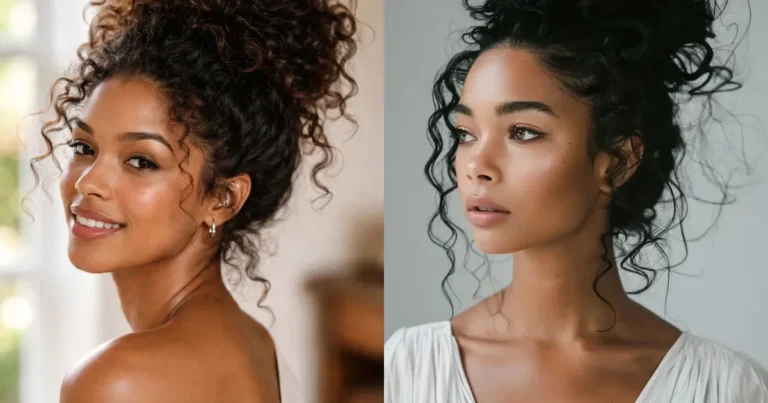
When you want your curls out of your face but still want to show off your length, the half-up top knot is unbeatable. It pulls the top section into a playful knot while the rest of your hair cascades freely, giving you the best of both worlds.
- Gather the top third of your hair at the crown and twist it into a loose knot.
- Secure with a small elastic and a couple of bobby pins, leaving the ends a little messy.
- Let face-framing curls fall loose in front for softness.
- Mist with light hold spray so the knot survives the day.
This style takes under five minutes and works on second or third day hair, when curls have a bit more grip and texture. It is my go-to for casual Fridays and weekend brunch.
Sleek High Ponytail

Quick Tip: Brush your hair upward with a boar bristle brush and a pea-sized amount of gel while your hair is still damp. The damp roots smooth flat, while the length keeps its natural curl, giving you that polished contrast that makes this ponytail look so sharp.
A sleek high ponytail turns long curls into a statement. The smooth roots give structure, and the curled length falls like a fountain behind you. Wrap a small section of hair around the elastic to hide it, and pin underneath. This look carries you from the gym to dinner without missing a beat, and it keeps curls off your neck on hot days.
Deep Side Part

Before: A center part that falls flat at the crown, with curls hanging in two even curtains that can look a little plain.
After: A deep side part that flips most of your hair to one side, creating instant volume at the roots and a dramatic sweep that frames your face.
Changing your part is the fastest refresh you can give long curls. Flip your part while hair is damp, then clip the roots on the heavy side for ten minutes as it dries. The lift at the crown lasts all day and makes your hair look noticeably thicker in photos.
Braided Crown Halo

A braided halo wraps around your head like a crown, and it looks incredible against a full head of long curls. It keeps hair off your face while showing off texture everywhere else.
- Part your hair down the middle and divide it into two sections.
- Braid each section loosely from behind the ear, working forward.
- Cross the braids over the top of your head and pin them behind the opposite ear.
- Tuck the ends under and secure with bobby pins.
- Gently pull a few curls loose around your face for softness.
This style works beautifully for weddings and parties, and the pins hold best on day-old hair with a little texture spray. Give yourself fifteen minutes the first time; it gets faster with practice.
Pineapple Puff Updo

DO:
- DO: Gather hair loosely at the very top of your head to protect your curl pattern overnight and as a daytime style.
- DO: Use a satin scrunchie or loose elastic so you avoid dents and breakage.
- DO: Fluff the puff with your fingers for a full, rounded shape.
DON’T:
- DON’T: Pull the elastic tight, which flattens curls and causes headaches.
- DON’T: Skip smoothing the hairline; a little edge control keeps the look polished.
The pineapple puff is equal parts protective style and fashion statement. Long curls piled high create amazing height, and the cascading ends show off every ringlet. It takes two minutes and looks intentional every time.
Face-Framing Layers

Quick Facts: Styling time: 10 minutes on wash day. Cost: a trim every 10 to 12 weeks keeps the layers fresh. Best for: oval, round, and heart face shapes, since the shorter front pieces draw attention to the eyes and cheekbones.
Face-framing layers are shorter curls cut around the front of your hair, and they change everything about how long hair sits. Instead of length pulling straight down, these pieces bounce up and curl inward, softening your features and adding shape. They grow out gracefully too, so you are never stuck with an awkward phase. I have tried this cut twice now, and both times it made my long hair feel lighter without losing a single inch of visible length.
Soft Beach Waves

Beach waves on long hair have that relaxed, sun-kissed energy that never goes out of style. For natural curls, the trick is loosening your pattern just enough: rake a light mousse through damp hair, then braid it into two loose braids and let it dry. When you undo the braids, you get soft, stretched waves instead of tight ringlets.
Shake the waves out with your fingers and finish with a sea salt mist at the ends only. The look reads casual but put together, perfect for vacations, outdoor events, and every summer photo you will take. Refresh on day two by re-braiding damp sections before bed.
Waterfall Twist Braid

The waterfall braid lets curls cascade through the braid itself, which looks magical on long hair. It sounds complicated, but the twist version is simple enough for beginners.
- Take a section near your temple and split it into two strands.
- Twist them around each other, dropping the bottom strand each time.
- Pick up a new section of hair from above to replace the dropped strand.
- Continue around the back of your head and pin the end under your curls.
Curls falling through the twist create that signature waterfall effect. Secure the end with a clear elastic hidden beneath your hair, and you have a romantic style that holds through an entire evening.
Center Part Shine

Quick Tip: Smooth a drop of lightweight hair oil down each side of your center part while hair is damp. It tames flyaways at the crown and adds the glossy finish that makes a simple middle part look polished rather than plain.
A clean center part lets long curls fall evenly on both sides, which shows off symmetry and length at once. This style flatters almost every face shape and gives your hair a calm, balanced look. Keep the part straight with the tail of a comb, and let the curls do the rest. It pairs beautifully with bold earrings and a strong lip.
Layered Shag Curls

Before: Long curls cut all one length, heavy at the bottom and flat at the top, with little shape or movement.
After: A shaggy layered cut with piecey ends and tons of texture, where curls flip and bounce at different levels for a cool, lived-in look.
The curly shag is the haircut for anyone who wants edge without sacrificing length. Ask for lots of internal layers and textured ends. Style with a diffuser, lifting at the roots, and finish by separating curls with your fingers. The result looks artfully undone in the best way.
Romantic Low Bun

A low bun made from long curls is naturally romantic because the texture does all the work. No need for perfect smoothness; the curls create softness and dimension on their own.
- Gather your hair at the nape of your neck into a loose ponytail.
- Twist the length gently and coil it around the base.
- Pin the coil in place, letting a few curls escape.
- Pull out small face-framing pieces in front.
- Finish with flexible hold spray for all-night staying power.
This is my favorite style for formal events because it looks elegant from the front and stunning from the back, where the curled bun shows off every twist. It also keeps long hair comfortably contained through dancing and hugs.
Bubble Ponytail

DO:
- DO: Space your elastics evenly, about two inches apart, down the length of the ponytail.
- DO: Gently tug each section wider with your fingers to create full, round bubbles.
- DO: Use clear or hair-colored elastics so they disappear into the style.
DON’T:
- DON’T: Pull the sections too tight, which squashes the bubbles flat.
- DON’T: Brush out your curls first; the natural texture makes the bubbles look fuller.
The bubble ponytail turns a basic pony into something playful and photo-ready. On long curly hair, each bubble puffs out with gorgeous texture. It is fun for parties and festivals, and it genuinely holds up for hours.
Feed-In Braid Blend

Quick Facts: Time: 1 to 2 hours at the salon. Lasts: 2 to 4 weeks with proper care. Cost: varies by stylist and length. The feed-in technique adds hair gradually, so braids start thin at the hairline and look natural instead of bulky.
Feed-in braids along the front or sides, blended into flowing curls at the back, give you a protective style with major visual interest. The braided sections keep edges neat and add pattern, while your long curls stay free and full behind. Sleep with a satin bonnet and moisturize the braids lightly to keep everything fresh for weeks.
Defined Wash and Go

The wash and go is the purest celebration of long natural curls. No heat, no stretching, just your texture defined and shining. The secret is all in the technique, not the products.
Work in small sections on soaking wet hair. Apply leave-in conditioner first, then a curl-defining cream, then a light gel for hold. Smooth each product down the hair shaft and scrunch upward. Diffuse on low heat or air dry without touching. Once fully dry, scrunch out any crunch with oiled hands. The definition lasts for days, and each refresh needs only water and a little leave-in.
Slicked Back Roots

Slicked roots with free-flowing curls behind them create a striking contrast that looks straight off a runway. It is bold, clean, and surprisingly easy.
- Apply strong hold gel to damp roots, brushing everything straight back.
- Smooth the sides flat against your head with a fine-tooth comb.
- Leave the length untouched so curls keep their volume.
- Set with a cool shot from your dryer or let it air dry.
This style photographs incredibly well because the sleek front draws the eye to your face while the curls add drama behind. Wear it to evening events when you want maximum impact with minimum effort.
Curly French Braid

Quick Tip: Braid on stretched or second-day hair rather than freshly washed curls. The extra grip keeps the braid neat, and you can pancake the braid afterward, gently pulling it wider, for that full, textured look.
A French braid down the back of long curly hair is both practical and pretty. It contains your length for workouts, windy days, and travel, while the curls poking through give it a soft, romantic texture that straight hair cannot match. Finish the end with a clear elastic and wrap a curl around it to hide the band.
Velvet Scrunchie Pony

Before: A plain elastic ponytail that dents your curls, slips by midday, and looks a little unfinished.
After: A plush velvet scrunchie ponytail that grips gently, adds a touch of texture and color, and turns the simplest style into an accessory moment.
Velvet scrunchies are kinder to curls than regular elastics because the soft fabric does not snag or crease. Choose one in a rich tone like burgundy or forest green for fall, or a neutral for every day. Pull your hair into a mid-height pony, wrap the scrunchie twice, and fluff the length. Simple, cute, and done in a minute.
Tousled Curtain Layers

Curtain layers parted down the middle frame your face like drapes, and on long curly hair they create the dreamiest shape. The front pieces are cut shorter and blend into the length, so everything moves together.
- Part damp hair down the center before styling.
- Apply curl cream and scrunch the front sections forward and outward.
- Diffuse the front pieces first so they set in the right direction.
- Once dry, separate the curtain pieces with your fingers.
- Pin one side back for a day-to-night switch.
This cut flatters nearly everyone because the parted front softens the forehead and cheekbones. It grows out beautifully, and the layers keep long hair from looking heavy or one-dimensional.
Glossy Defined Ringlets

Quick Facts: Best products: a moisturizing leave-in, a curl cream with hold, and a shine serum to finish. Drying: diffuse on medium heat for definition, or air dry for softness. The goal is separation: each ringlet defined, glossy, and frizz-free from root to tip.
Glossy ringlets are the ultimate long curly hair flex. Finger-coil any stubborn sections on wash day, then leave your hair completely alone while it dries. Patience pays off here; touching wet curls is the fastest way to invite frizz. When the ringlets are set and shiny, they catch the light with every move you make.
Conclusion
Long curls give you endless ways to play, and these 20 ideas are just the beginning. Pick the one that matches your mood this week, whether that is a polished ponytail for workdays or a romantic braid for the weekend. The right one among these curly hairstyles for long hair will make you fall in love with your length all over again.
Save your favorites to Pinterest so you can find them on your next wash day, try at least one new style this month, and share this list with a friend whose curls deserve the spotlight too.